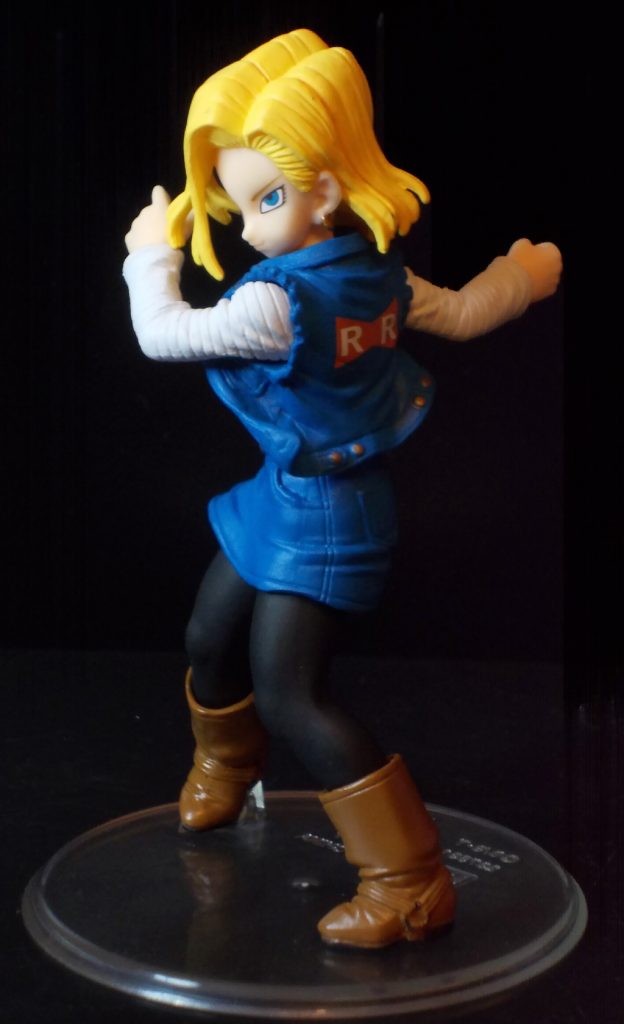
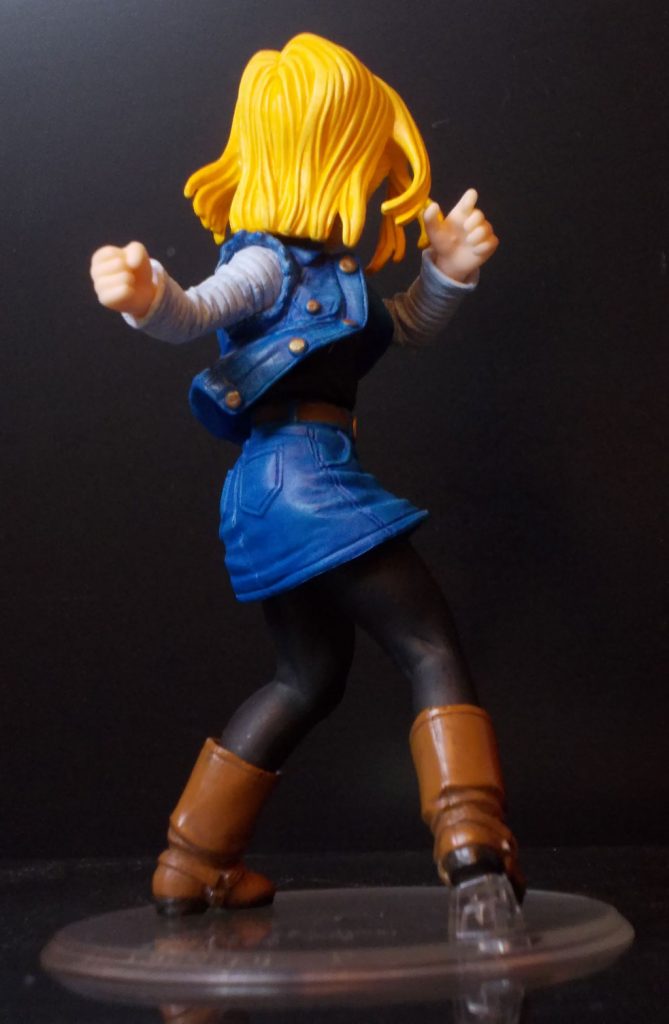
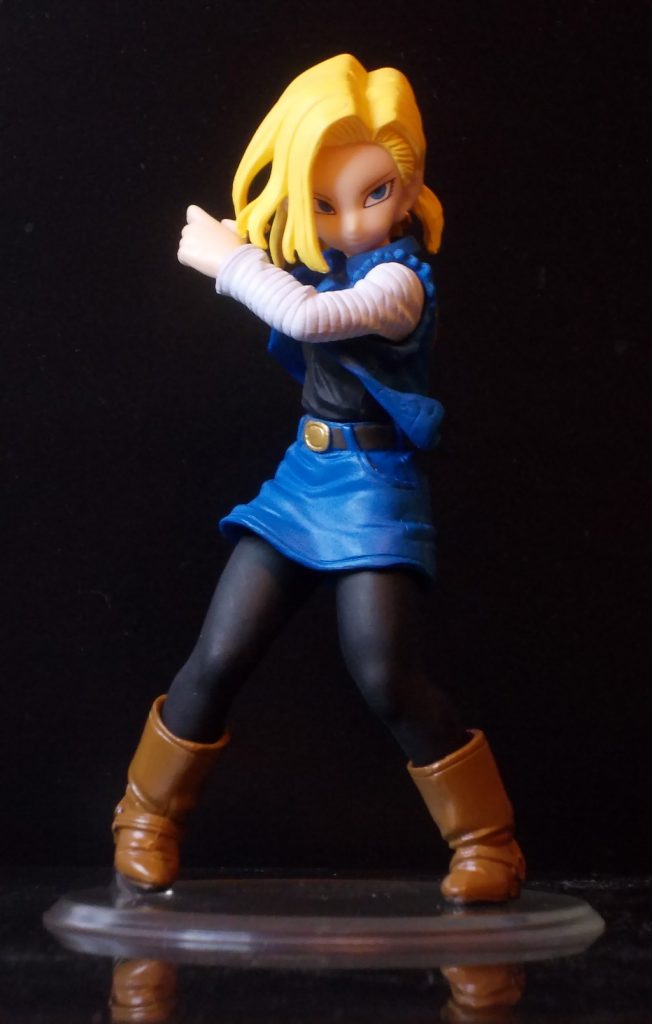
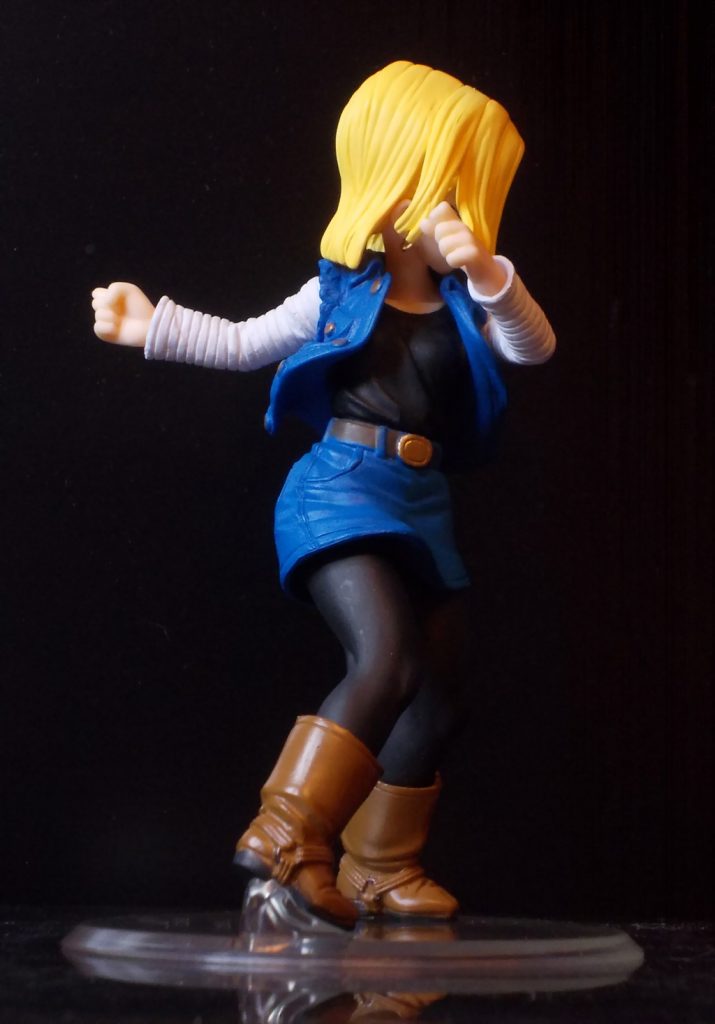
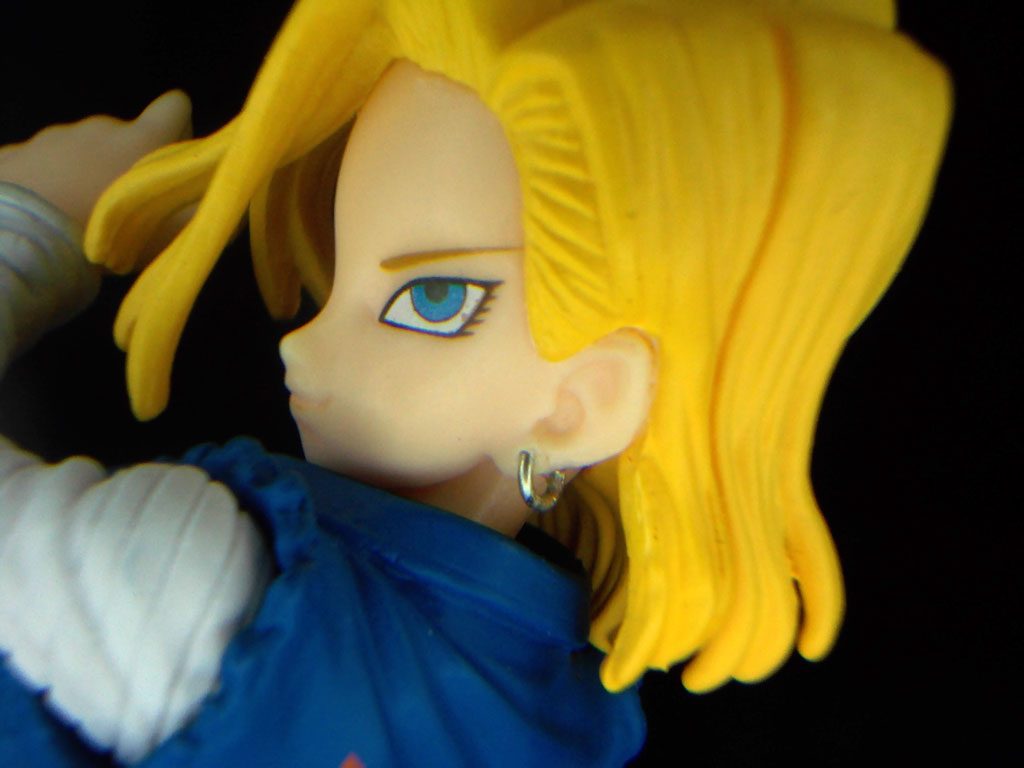
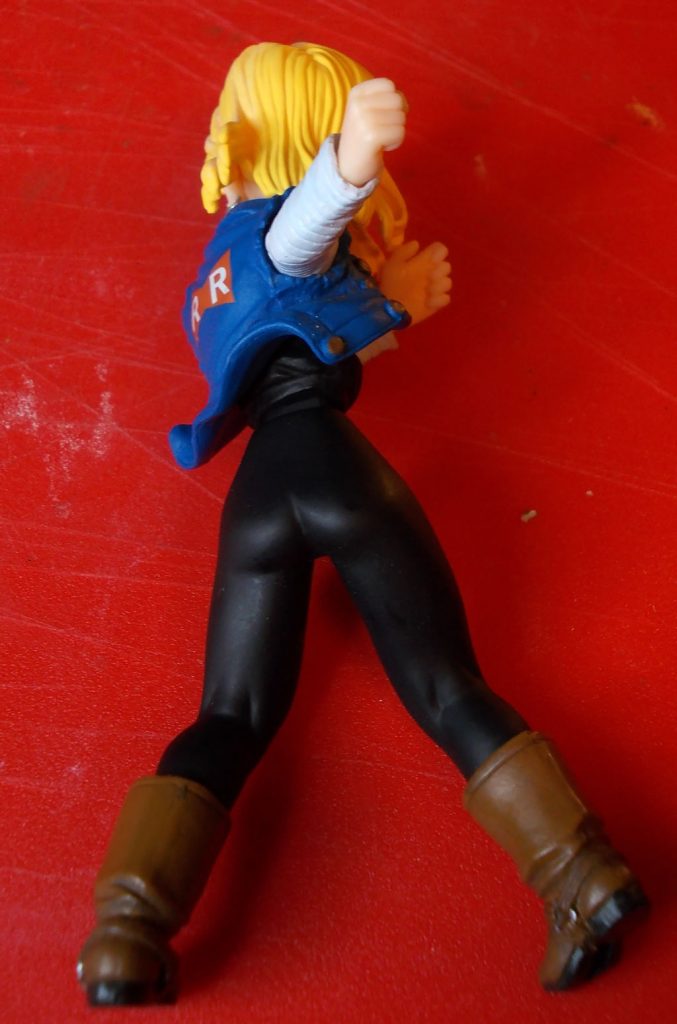
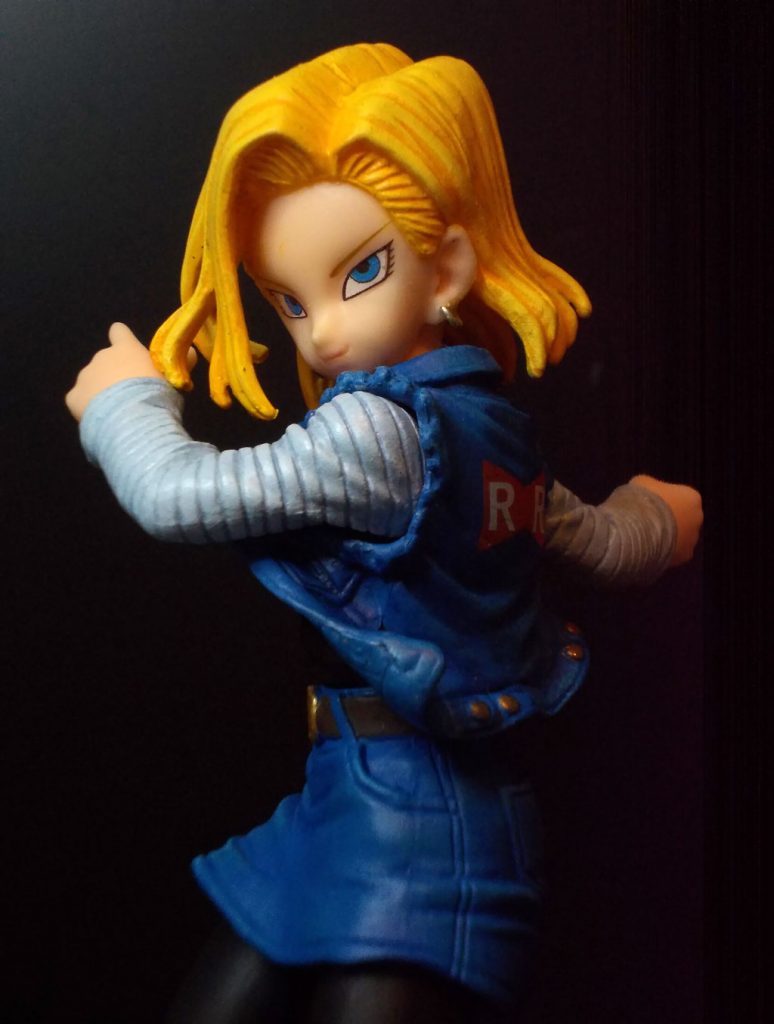
I nabbed a C18 figure, it’s really tiny (12cm/4.5″) and pretty cute in her RR uniform. The figure breaks down in 3 pieces (legs, skirt, upper body) so it fits in a tiny box and for a moment I thought it would be even smaller. It’s well done for its size. There are some minor glue smudges on her face. Her hair is painted rather flat, so I was tempted to repaint it and also give her real earrings.

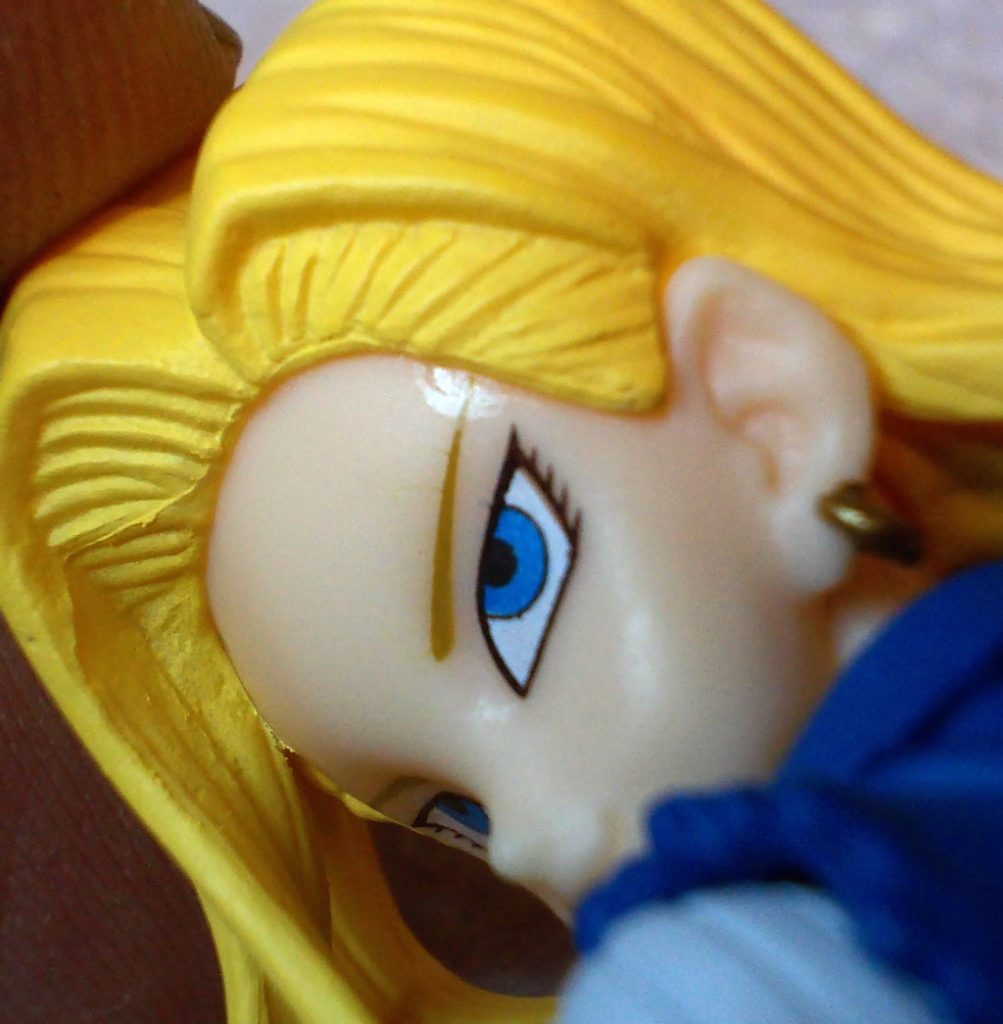
My C18 has a glue smear on her face and forehead, and some blue paint smudge on her hair. To remove such, I found that careful scraping with a sharp blade works best.
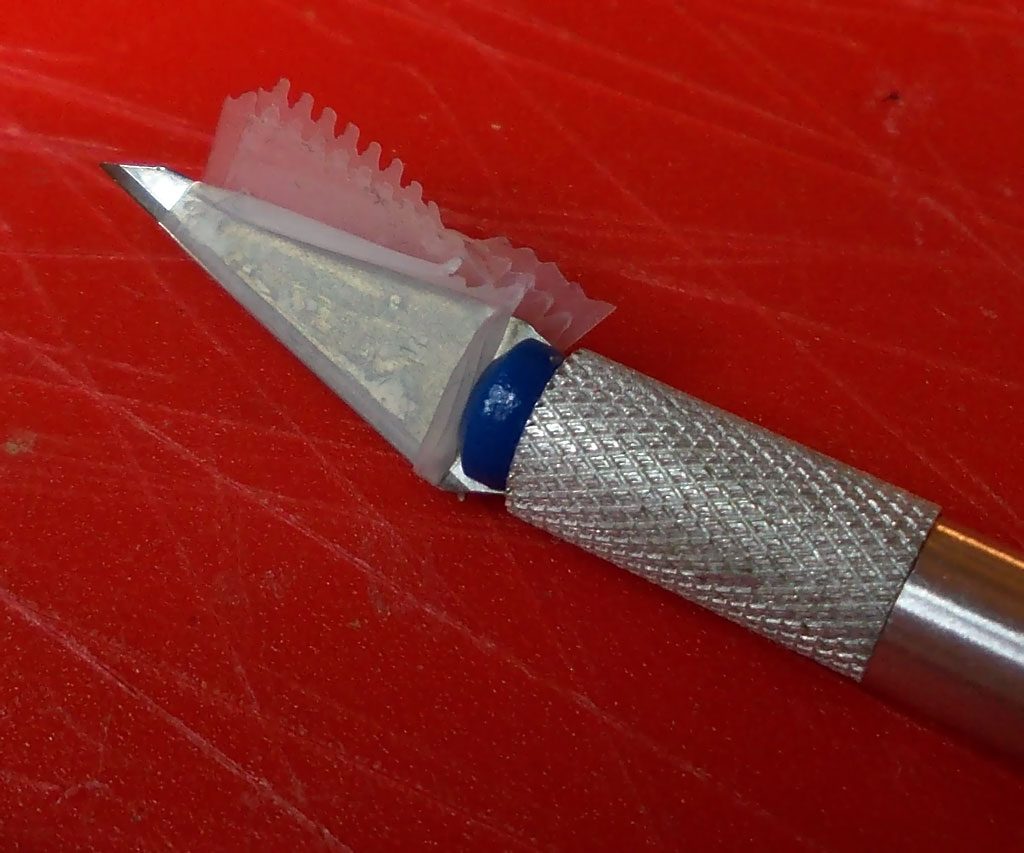
I always wash my figures first in hot water with some dish-washing detergent and a toothbrush, but if that doesn’t get rid of the smudge you may have to resort to scraping. I tape off most of the knife to prevent accidentally cutting something unintended:
Scraped off most of the glue and paint smudge (it was going to be repainted anyway so I didn’t do the most thorough job). After this scraping, I will polish the scraped area with toothpaste – this evens out the finish and gets rid of any debris:

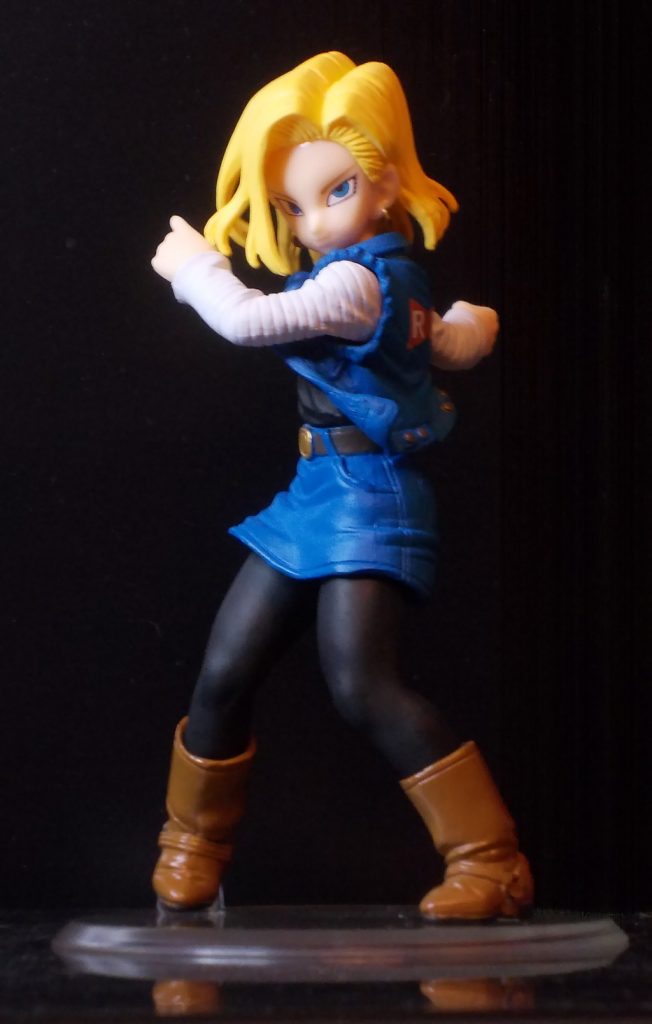
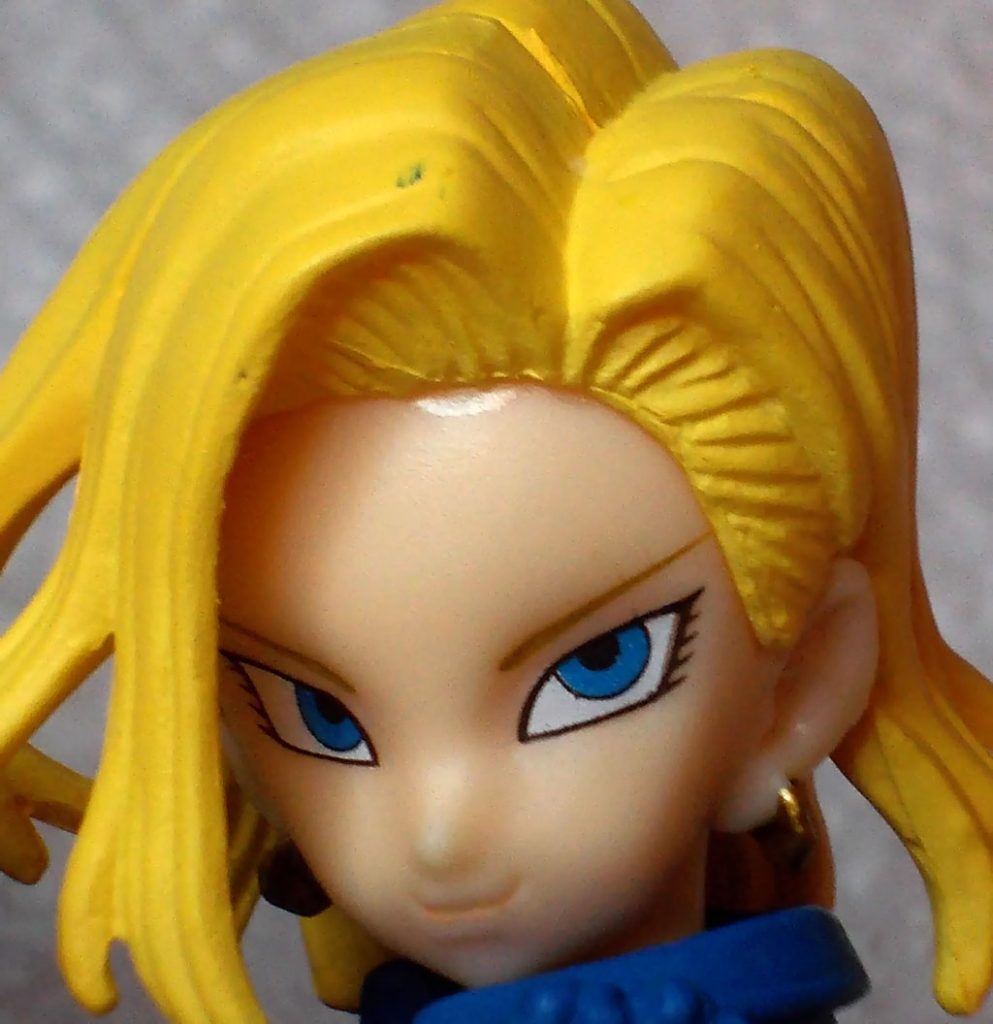
I replaced C18′s earring blobs, though it was more fiddly than I expected due to the small scale of the figure.
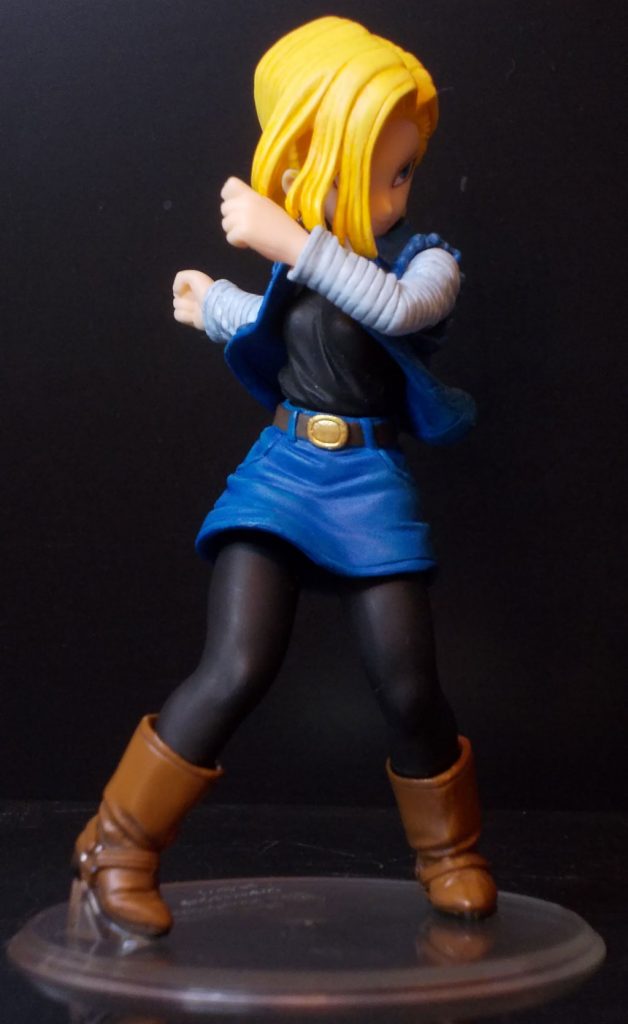
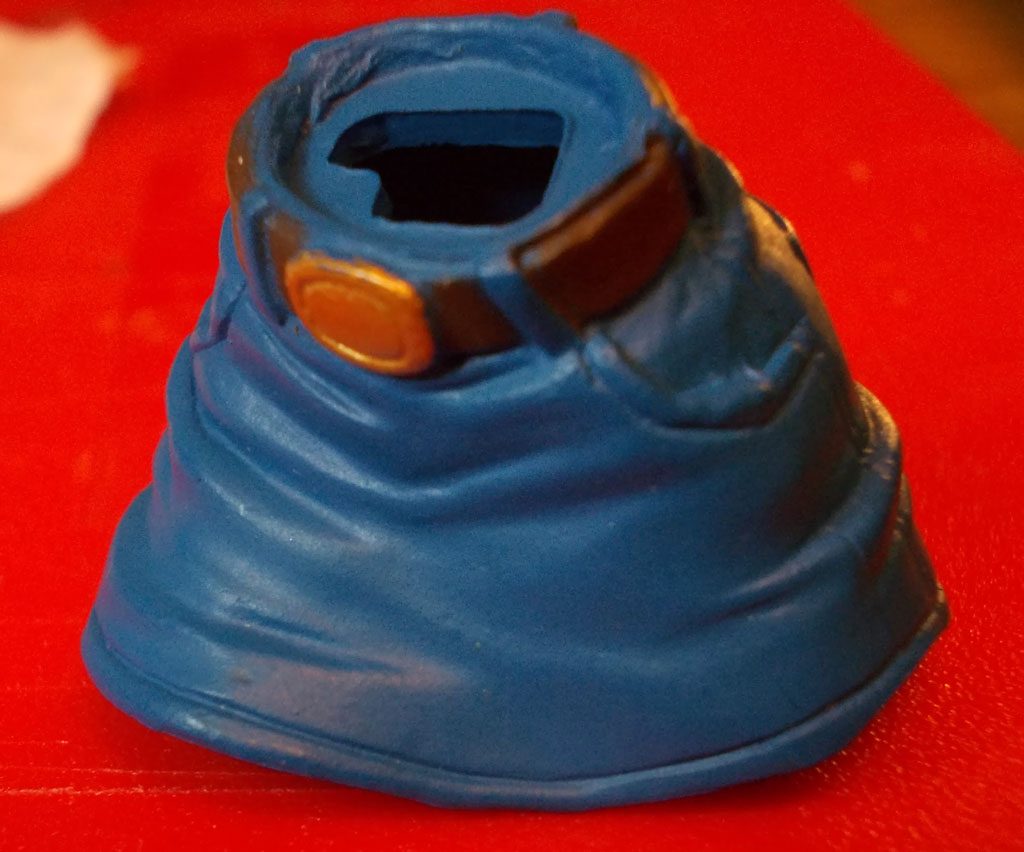
While her skirt is removable, it’s not really a “cast-off” feature. I like how the sculptor gave her legs some muscle (and actual knees!)
For repainting I use generic acrylic art paint in tubes, supplemented with Vallejo acrylic model paints. The Vallejo paints I use most are white and black (there’s never enough white or black in paint sets), silver and gold, varnishes (matte, satin and gloss), putty, matte medium (which I also use to fill small holes) and glaze medium (which also doubles as drying retardant). I’m not too happy about the Vallejo varnishes though, and now mostly use matte and gloss medium as top layers.
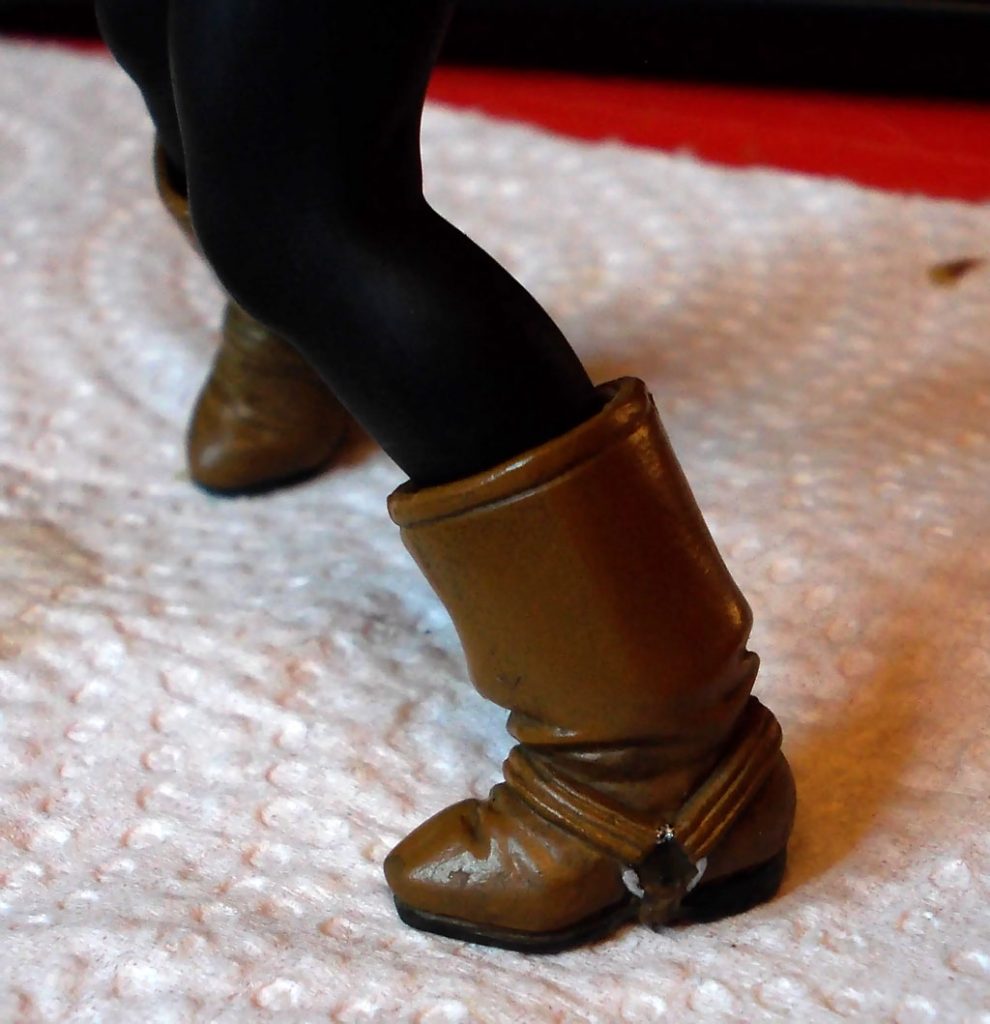
I gave her boots some more depth with a dark wash, corrected the sloppy outline of her soles, and used silver to accent the metal rings:
I used a combination of washes and dry-brushing on her hair and clothing to remedy the very flat look. A “wash” is when you apply a dark color fairly “wet” so it gets into all the recesses, then wipe off the raised areas before the paint dries. This accentuates the “shadows” on a small figure. Dry-brushing is the opposite, where a lighter color is applied fairly dry to only the raised areas. You don’t want this to get in the recesses so with an almost dry brush you stroke lightly, perpendicular to the main creases etc. I also put gloss varnish on her eyes and some more definition to her mouth and ears.
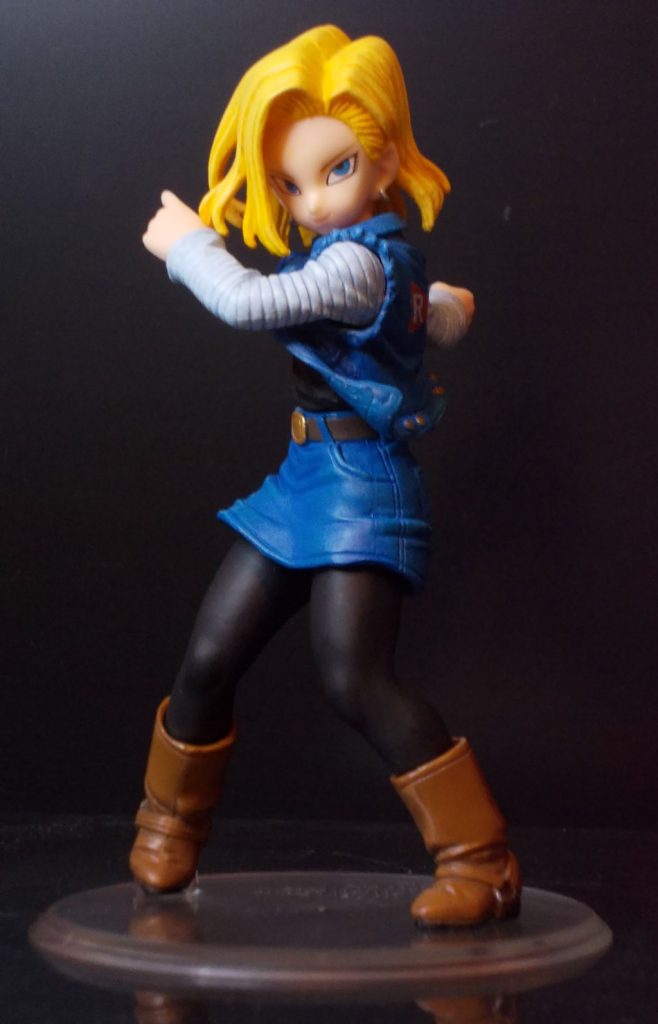
Here’s the repainted figure side-by-side with the original. “I don’t see any difference?” You were not supposed to. The thing with washes and dry-brushing is that they intend to mimic natural light and shadow, not draw attention to themselves. So your brain would ideally interpret the pictures on the right as just a better lit photo of the same object, not realizing that the better defined shadows and highlights are in fact painted on…