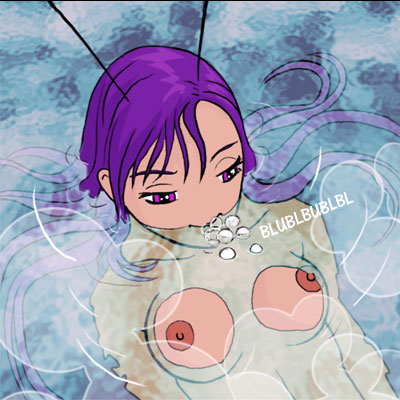
How I created the water effect in this bath sequence:
I use the “ocean ripple” filter to create the water surface, but one must have something to ripple first.
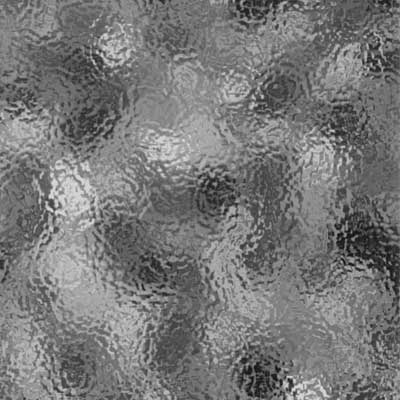
I start with filling an area with noise and enlarging it – the size of the noise particles will determine the size of the overall shade variations, so experiment with this.

I then apply a Gaussian blur to the noise.
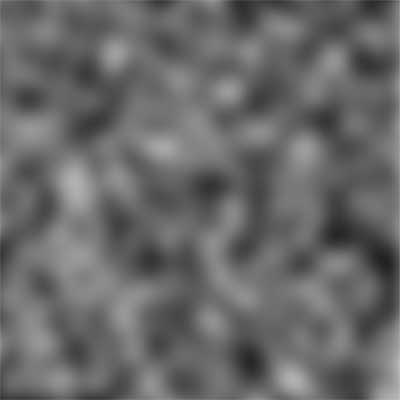
Next step is running the “ocean ripple” filter – the settings here will determine the general scale and intensity of your waves. Again, experiment.
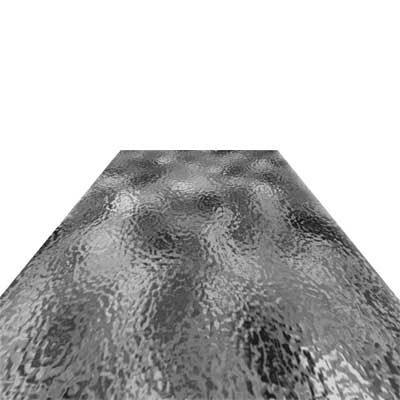
I apply a perspective and scale transformation, then clip to the adequate-looking part. I recommend starting from a large enough size.
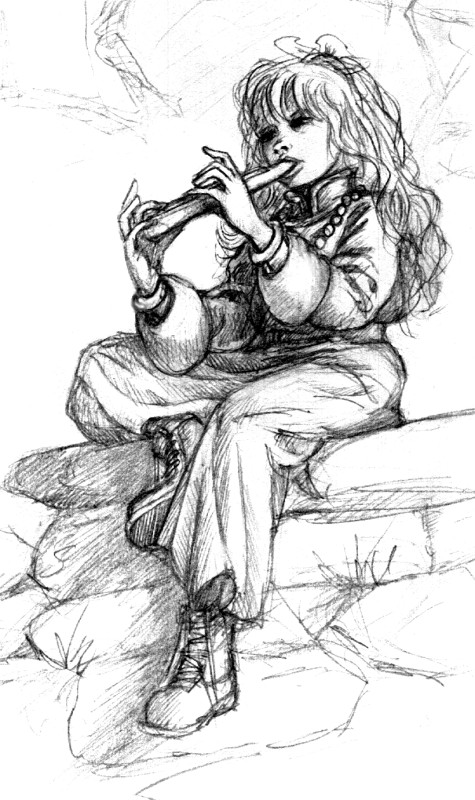
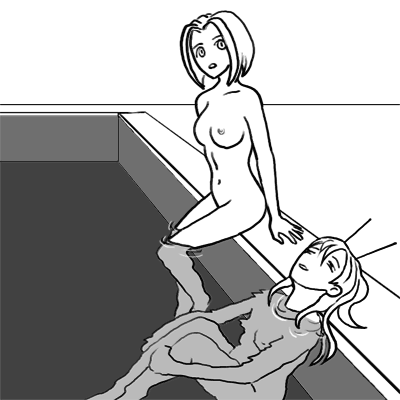
I color the below-water areas. Note that the reason I don’t apply a ripple filter directly to this area is that I dislike to apply distortion filters to my line-art – it takes far too much tweaking to get it right so I prefer to draw the below-water distortions by hand.
The water texture is applied as a “screen” layer. Adjust transparency to taste.
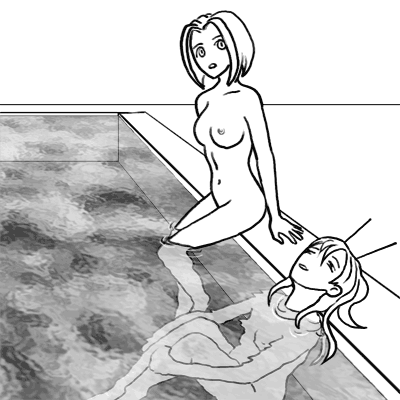
Some hand-drawn ripples also help to integrate the texture with the line-art. For best effects, make the water border a bit more wavy than I did here.