Someone asked me to describe my process for the plywood stocks I made for airsoft rifles. I’m not in any sense an expert on this, so I thought it best to just describe the few gunstock projects I’ve done so far and what I’ve learned from them. I’m also not an airsoft player, I just own a number of airsoft and bb rifles to display my bayonet collection (they were right that bayonet collecting is a gateway drug)… I’m also not a woodworker. So it’s partly of necessity that I go for the distressed, “vintage” look, not just to better fit in with my bayonets – though I do in fact prefer the added character of the used look.
Before making stocks from plywood, I fitted a couple of airsoft rifles with army surplus stocks, but after all the fitting trouble with the last one I thought I might as well make one from scratch…
My process takes some time and patience, but is not hard and doesn’t require expensive materials or tools, I don’t own tools like a router or a lathe. A couple of wood rasps and files and hand saws, a wood chisel, perhaps a rotary tool with a few wood carving bits, lots of clamps, a drill and electric hand saw, some plywood and wood glue is about all you need, and if you mess up, starting over is easy and cheap too.

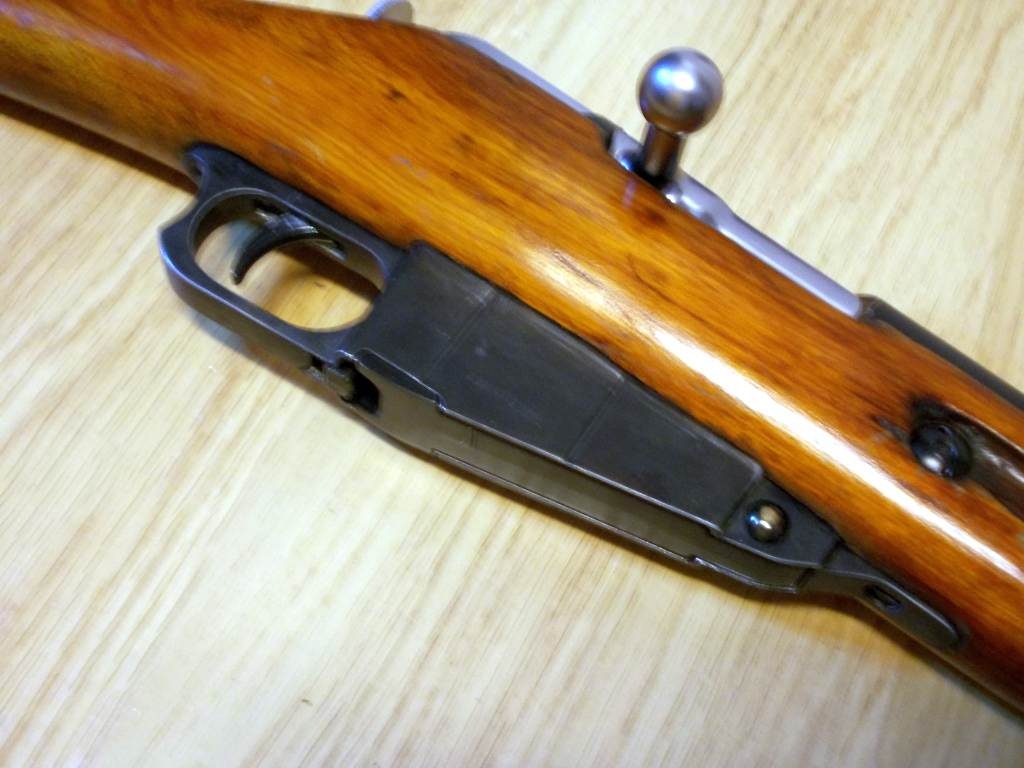
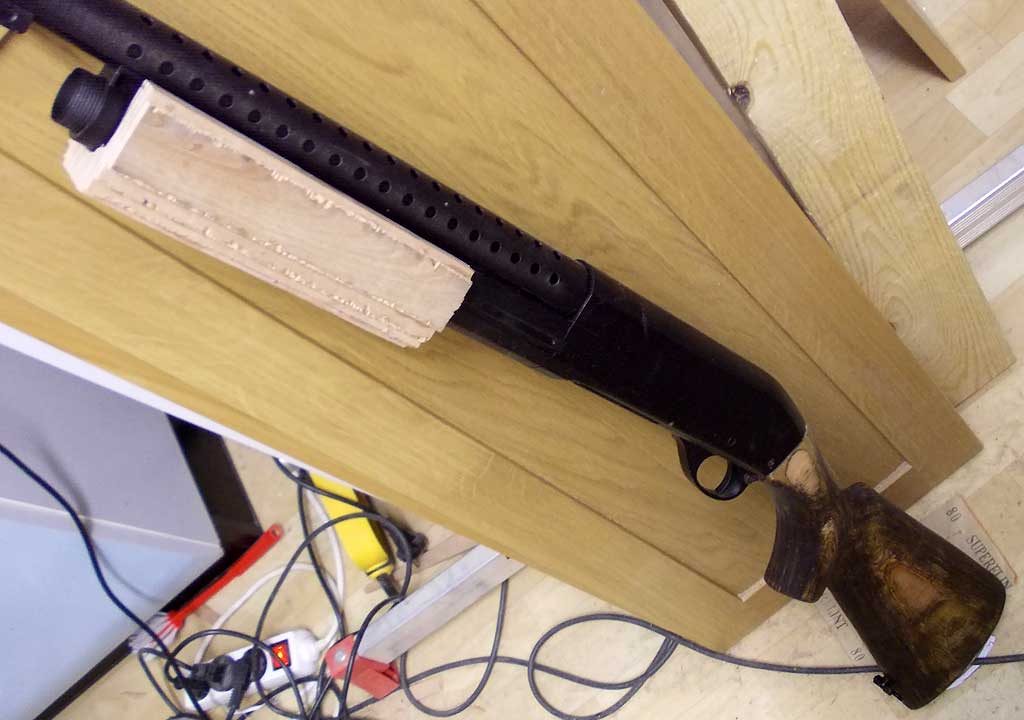
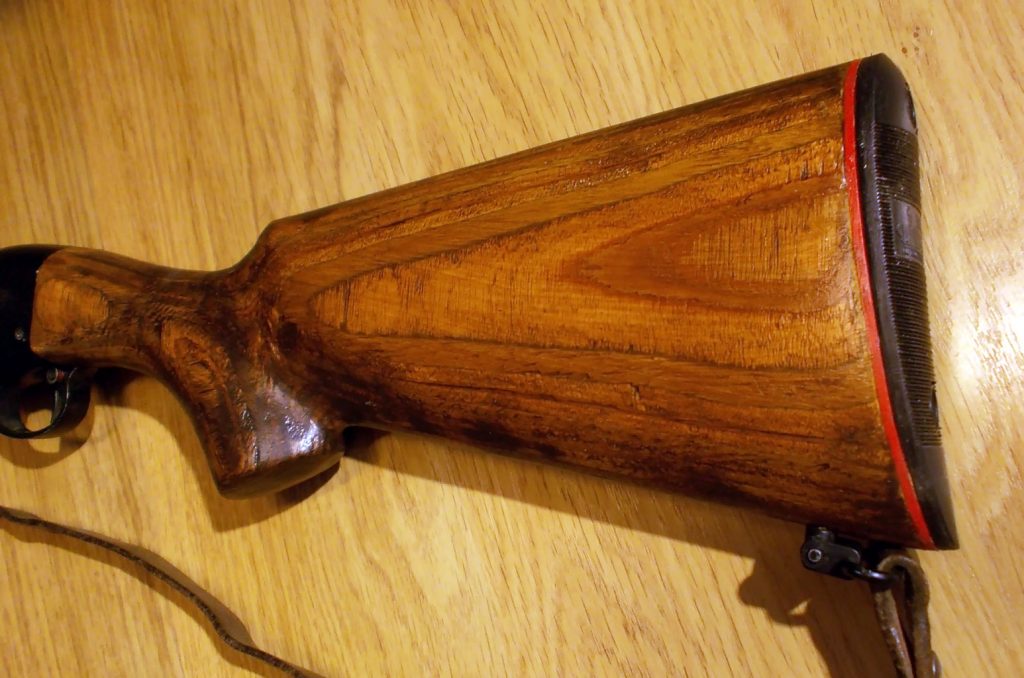
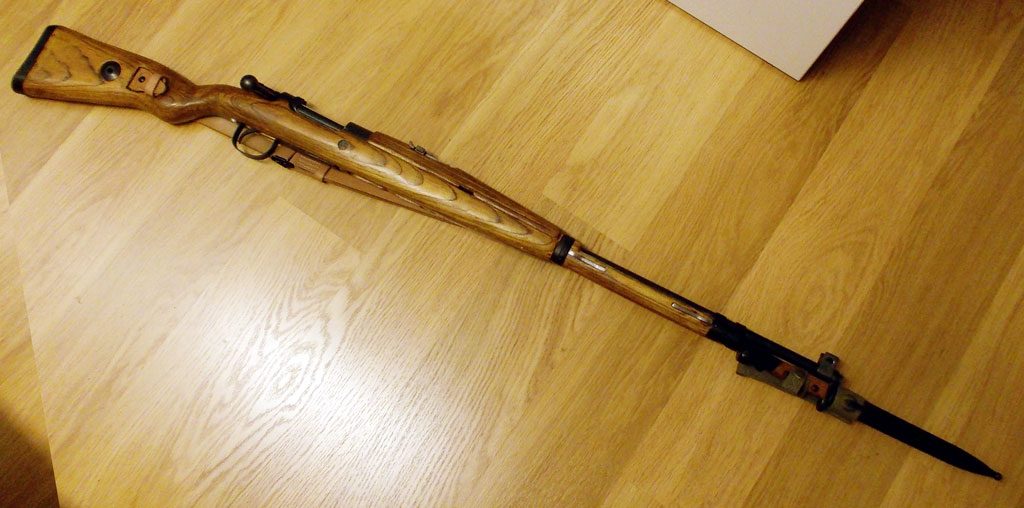
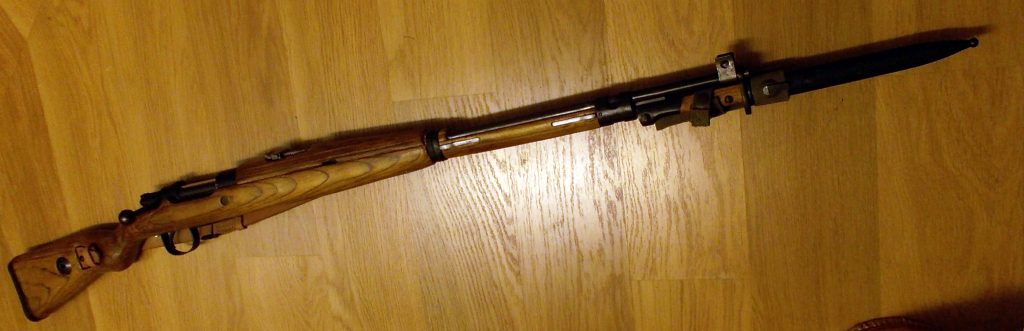
My first project was to turn a CYMA M870 into a Remington trench gun. The first iteration was a rush job I needed for an event, later I added a real butt cap and reshaped it a bit. This was a couple of months before S&T came out with their cheap real wood full metal 870, had I known I’d probably never have done this.
The CYMA mechanism is much different from the real weapon so a real frontend was never going to fit.
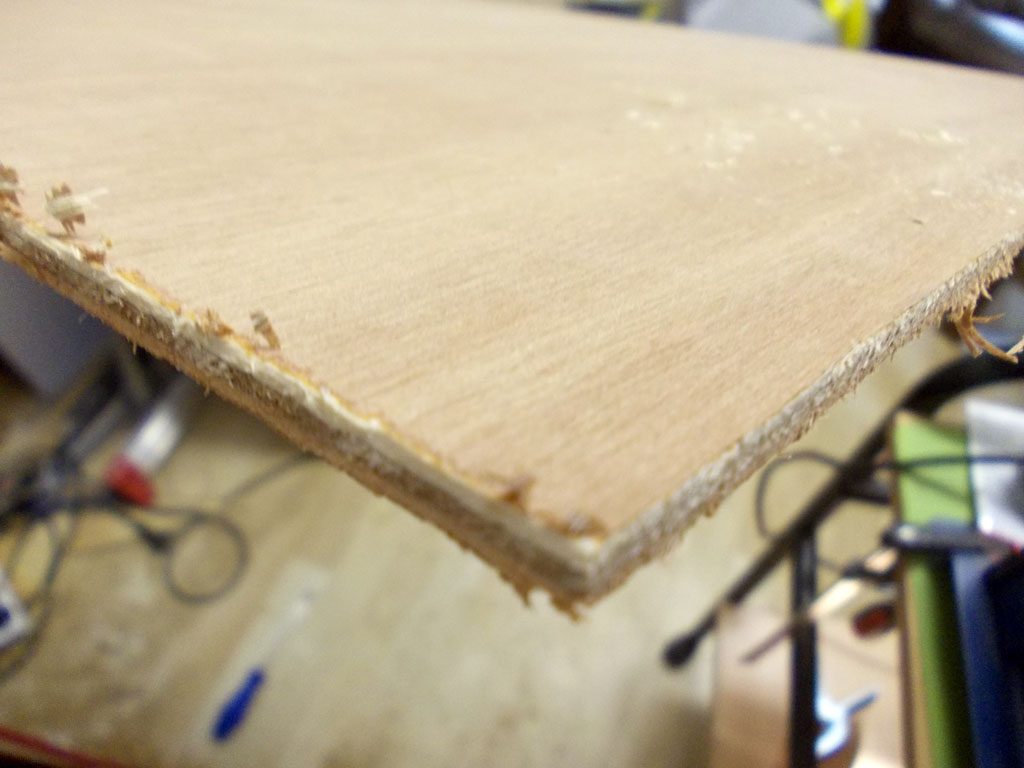
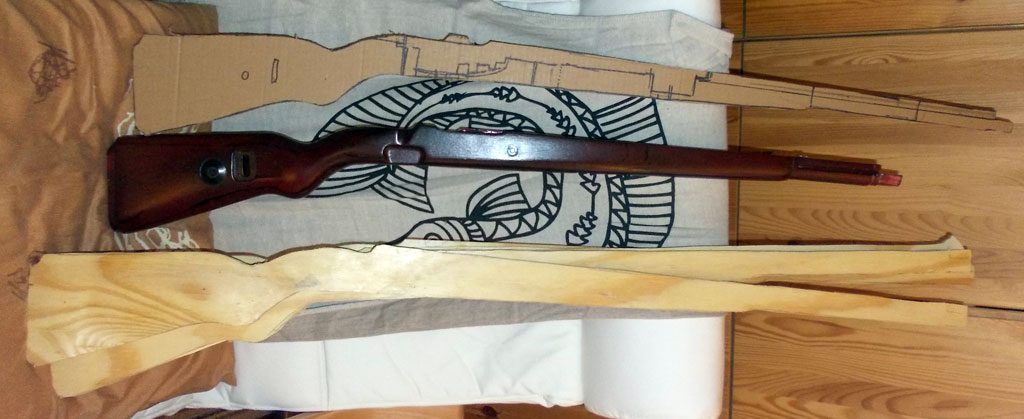
I bought nice hardwood 3-layer plywood for this. The layers alternate between lighter and darker wood so I thought this would look cool, and I thought it would be easier to fit with thinner ply. I wouldn’t make the same choice again. I currently prefer the cheap scabrous looking pine plywood of about 8mm thick. Having to cut and glue many thin layers is tedious and offers no noticeable benefit. A nice surface layer is irrelevant because no part of the surface will be visible in the end result. And an expert woodworker may make alternating color layers look cool, but it can also look bad, and it’s much harder to fix mistakes unobtrusively. The pine looks more homogeneous, and a mistake fixed by gluing an extra bit on becomes as good as invisible
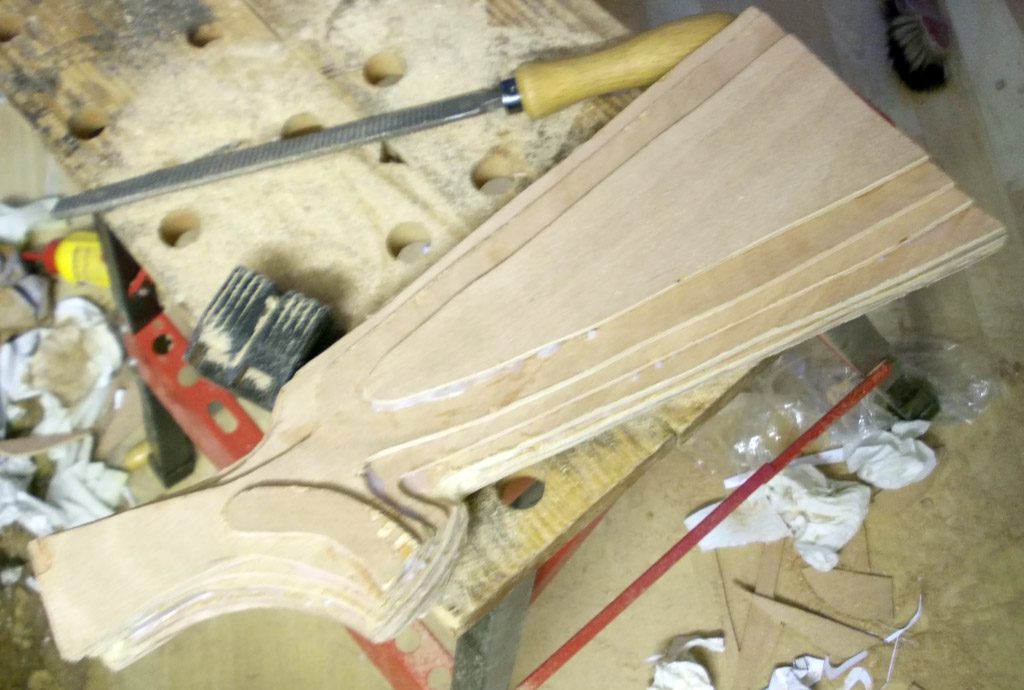
For the shoulder stock part, I drew “terrain lines” based on the thickness of my plywood, took a photo and printed it out in actual size to make templates. I cut the shapes out with an electric saw, also cutting out interior spaces where needed. While the templates helped, most of the external shaping ends up mostly “by eye”. And I had way too many layers
My biggest mistake I think, was being impatient in gluing everything together, thinking I could just as well tweak the final fit afterwards, but this wasn’t quite true.
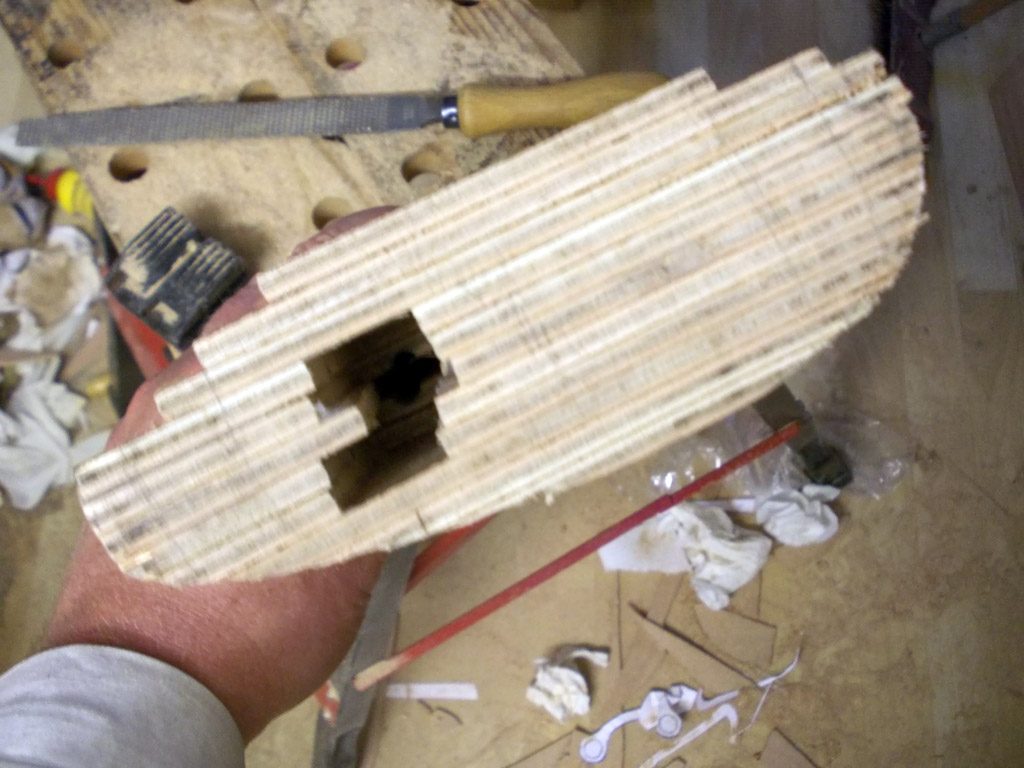
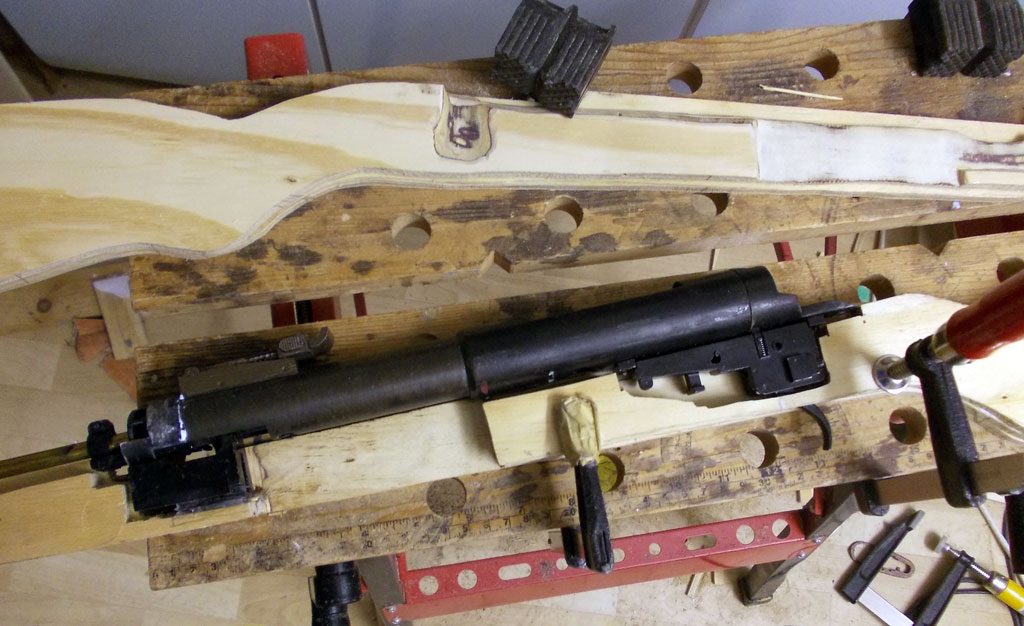
In my second attempt I used clamps to keep the layers together and only glued when I was satisfied that everything did in fact fit together. In my third attempt I also drilled several holes for 6mm dowels through all plywood layers so I could dispense with the clamps when this was more convenient, and still be able to keep everything aligned.
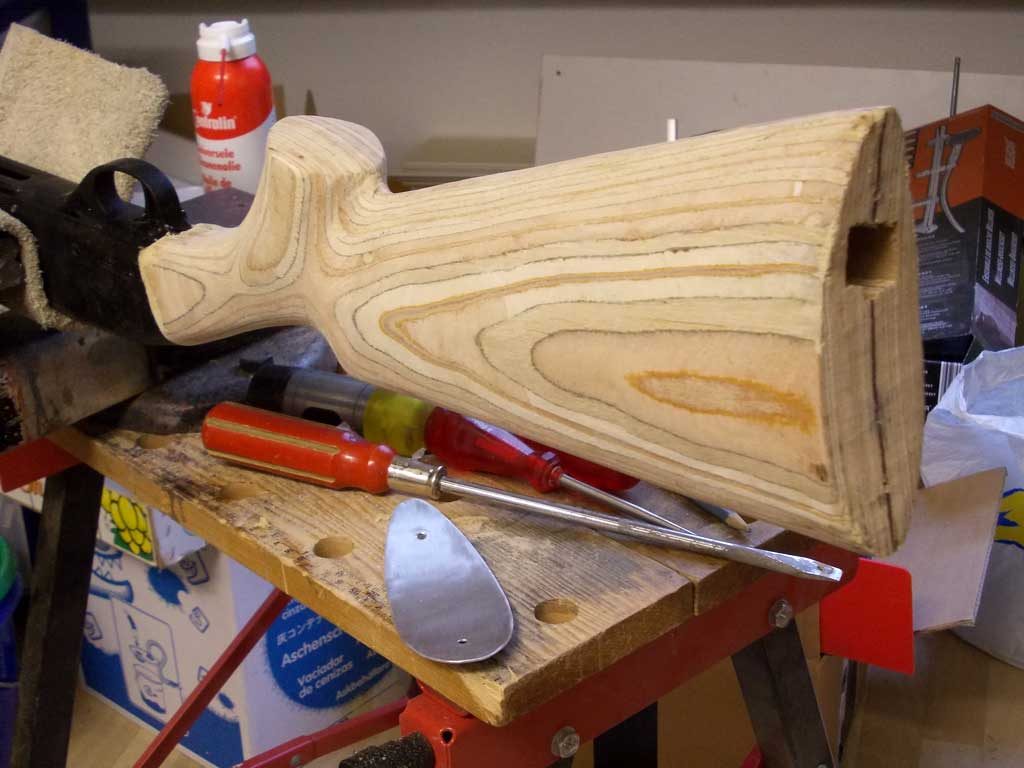
For exterior shaping, I like to use a flexible Japanese-style hand saw, rasps, files and a small hand plane. In my first attempt I used a lot of wood putty to ensure the fit between the stock and the receiver. Currently I only use putty to help fit “inside” the stock, and to fill small gaps and holes. For anything structural I prefer to glue on extra wood, and shape it to fit (I use pieces of wooden spoons, coffee stirrers etc for fine fitting
For wood finishing, I love the look of stained and oiled wood, but THIS WON’T WORK since your laminated stock is soaked in glue and will take stains or colored varnishes very unevenly. Big mistake I made. I tried to salvage it by making everything very dark but even that didn’t really help
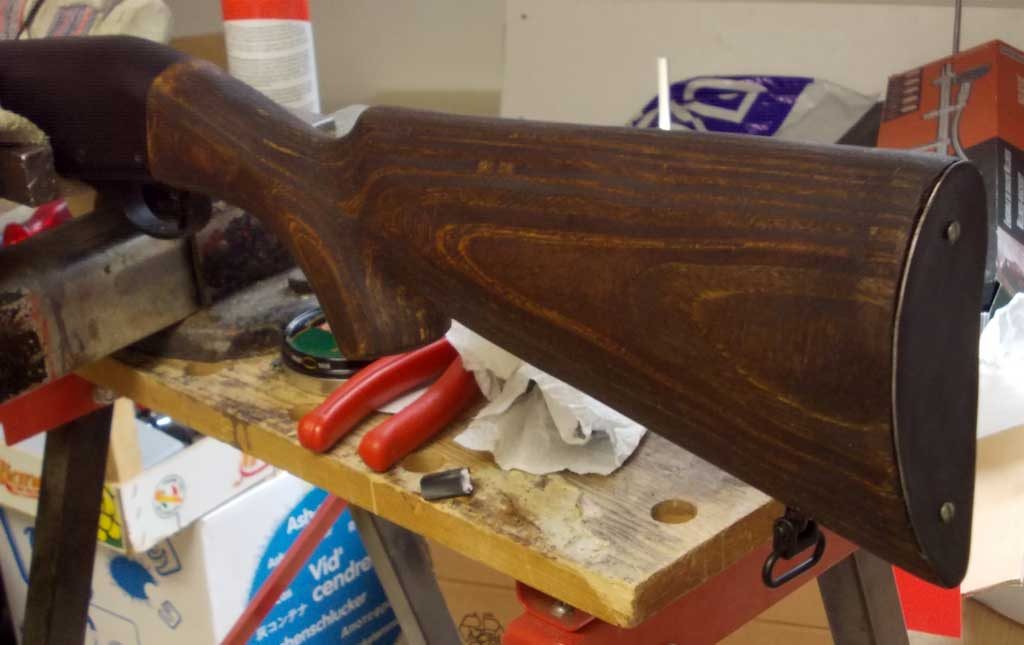
With the rework I mostly left the first finish where it wasn’t removed by the reshaping, not decided if I want to do any more on this:
I recommend putting on a clear acrylic varnish first, then color varnishes to get the desired wood tone. After shaping, the plywood tends to get “fluffy” so I recommend putting on the first layer of thinned varnish fairly early as it helps to better see the shape and where it still needs change. If you have to change the shape after using color varnish, you’ll need to sand off everything or there will be visible edges. Hence I recommend clear varnish until you’re sure the shaping is done
After shaping is done, holes have been filled, and the clear coat is dry, I put on several layers of varnish like “dark oak” or such. I often make the varnish deliberately uneven so that parts that would have more wear turn out a bit lighter. My first project was NOT an example of all the above, but here’s the finish on my latest:
Finishing touches, to be done last as going back would be a pain: A coating of wax often looks good. Some black shoe polish brushed on sparingly(!) can mimic fouling or wood discoloration by contact with metal. Finally I like to use some grease to hide any tiny gaps between wood and metal – you can use surplus gun grease if you like that authentic smell, but anything similar such as ball bearing grease works just as well.
I’m fairly proud of the bayonet lug for the trench gun, but let’s skip over that. I’m no metalworker either:
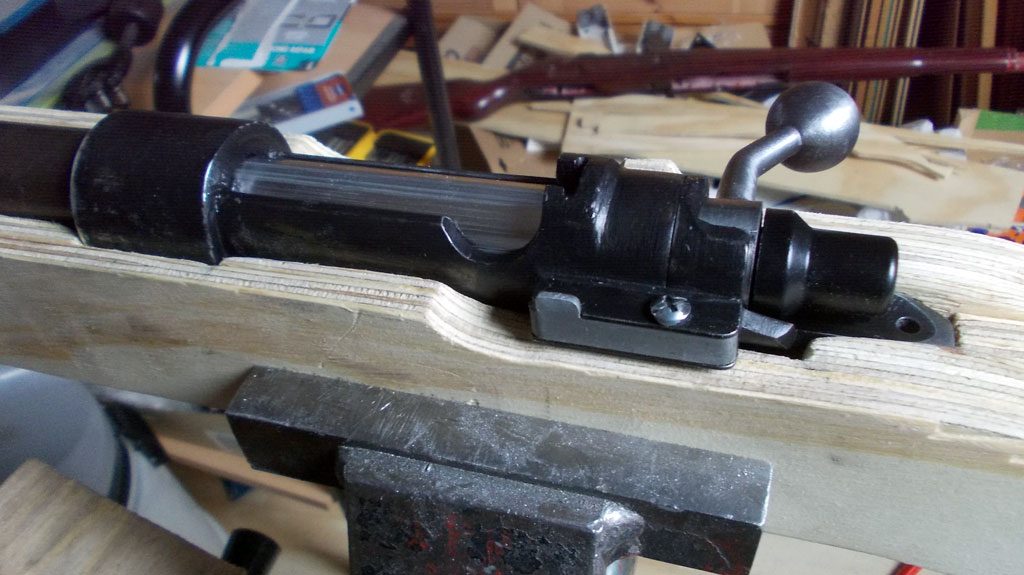
My second attempt was basically my “learning project” – a rifle cobbled together from leftovers that I wanted to look (vaguely) like a Belgian Mauser, on which I experimented a lot of techniques.
I made a number of mistakes on this. First, I took a Dboys Kar98 stock as reference, noticing only afterwards that its shape is incorrect in a number of hard-to-fix ways. Secondly, I thought leaving a lot of “seam allowance” for the exterior shape would be better, but it just made final shaping much more difficult. I should have cut out the shapes with precision. Third was impatience to try out the tinted varnish even though the shape was still far from perfect. Finally I neglected to clamp the parts on a level flat surface while gluing so I had to deal with some warping. This project was quite ambitious and I was surprised it worked as well as it did, but I should really redo it to the correct profile…
Having learned from my first mistakes, I used the ugly pine plywood for the Mauser (it was like this in the store):

I modified the stock to VSR10 compatibility, and I lengthened it to Gew98 size for lulz
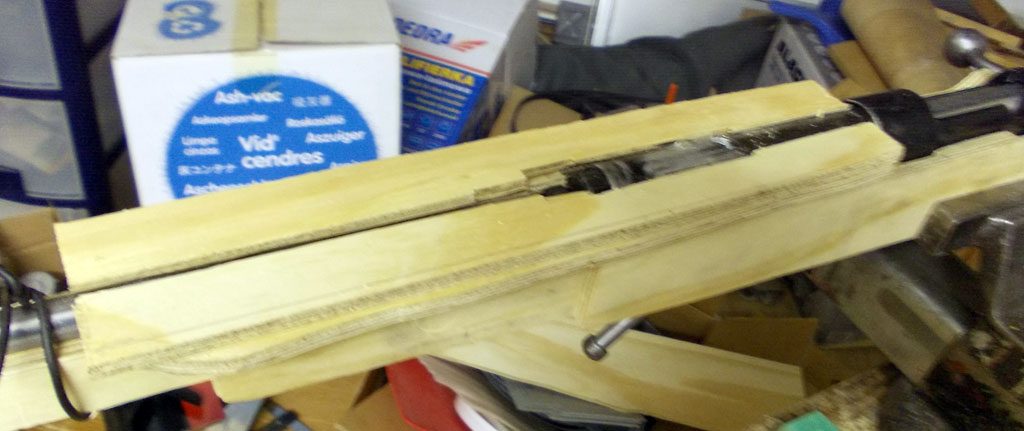
This time I was more careful to fit all the internals before I started gluing:
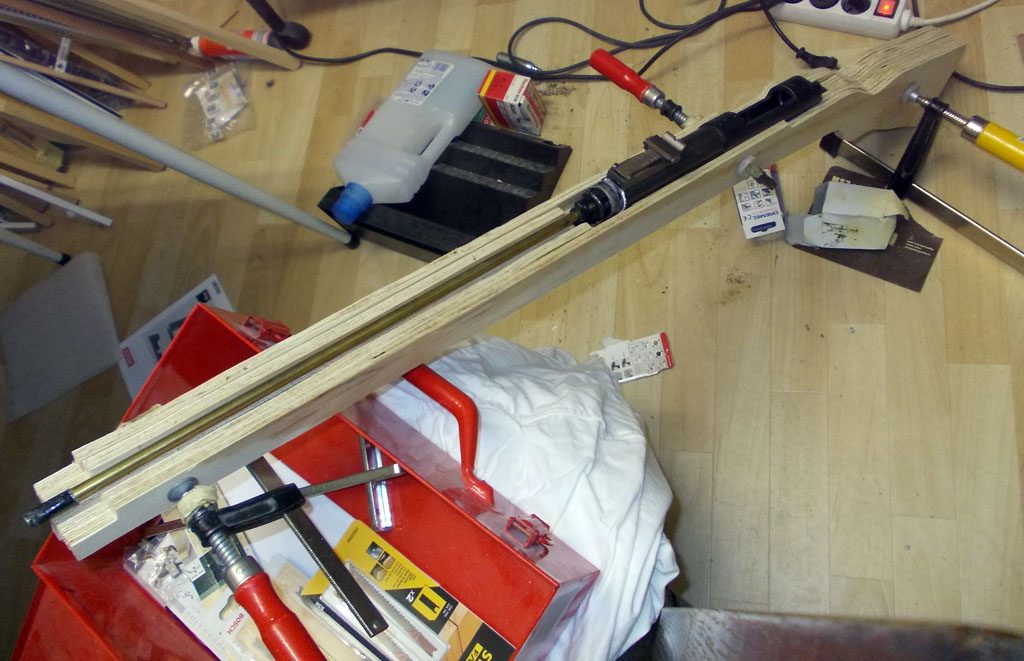
I call this “building the stock from inside out”, making everything fit together internally first. Some may recognize the heavily modified vsr10 style receiver from a Well MB03:
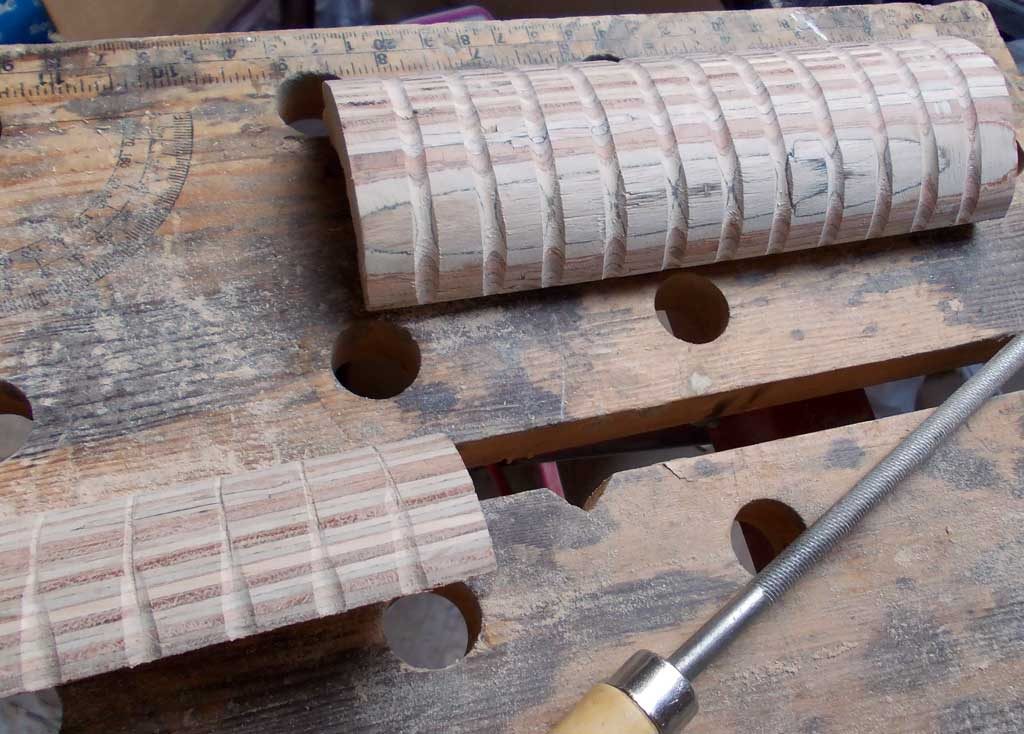
Similar process for front hand guard, building it from the inside out:
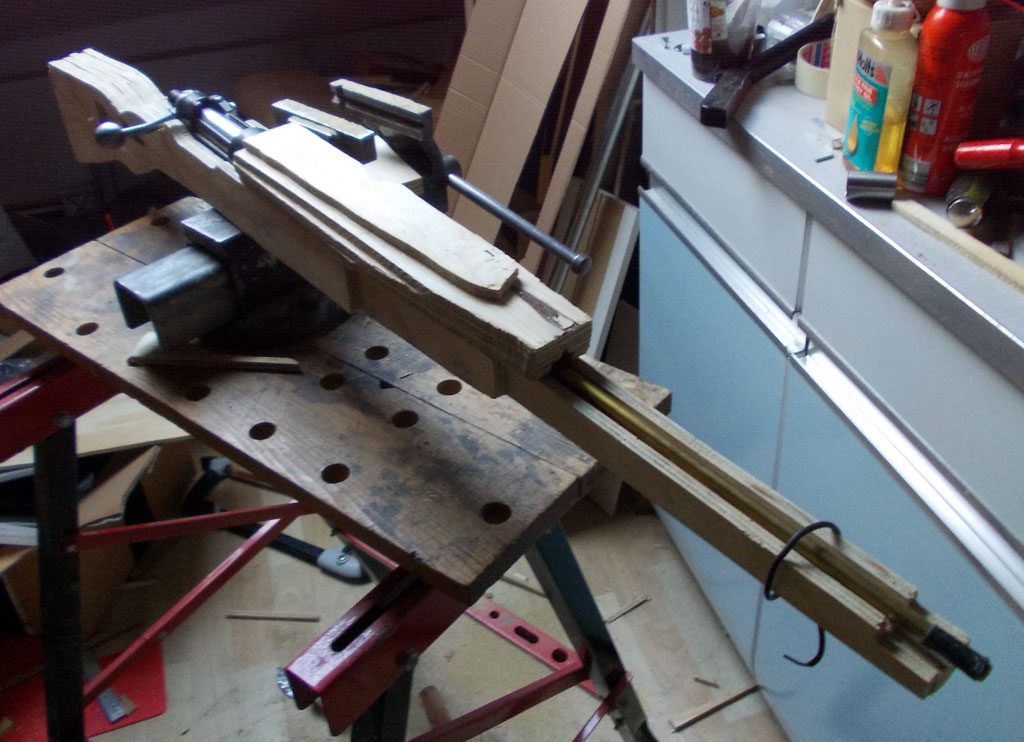
The stock, after shaping and the initial clear varnish:

I had a kar98 sling so I put in the kar-style sling mount even though this is rifle length.
Fixing some mistakes by just gluing on more plywood:

This thin bottom tore out while drilling the hole, so I simply glued in a patch:
Repair is completely invisible later:
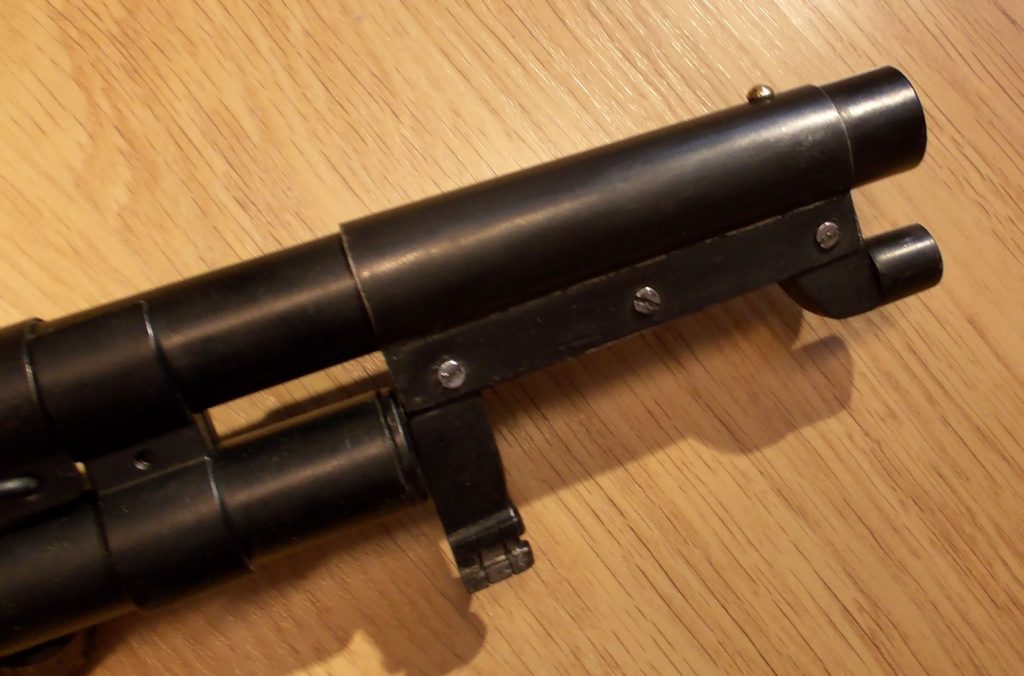
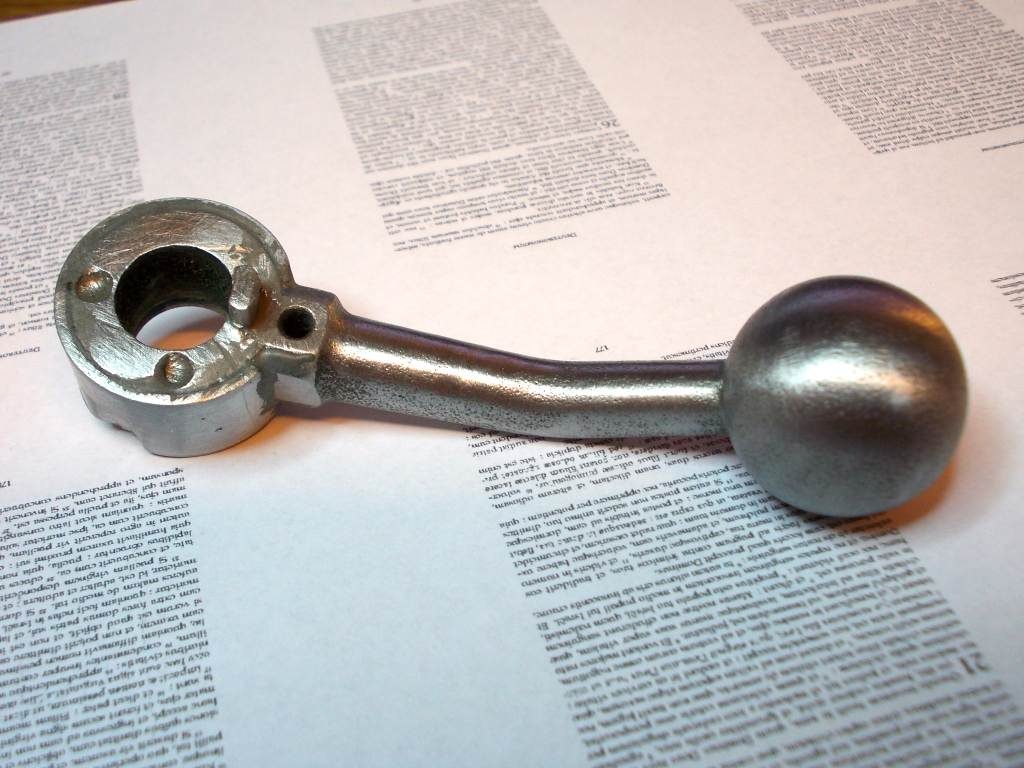
I made the charging handle from a Well steel upgrade part:
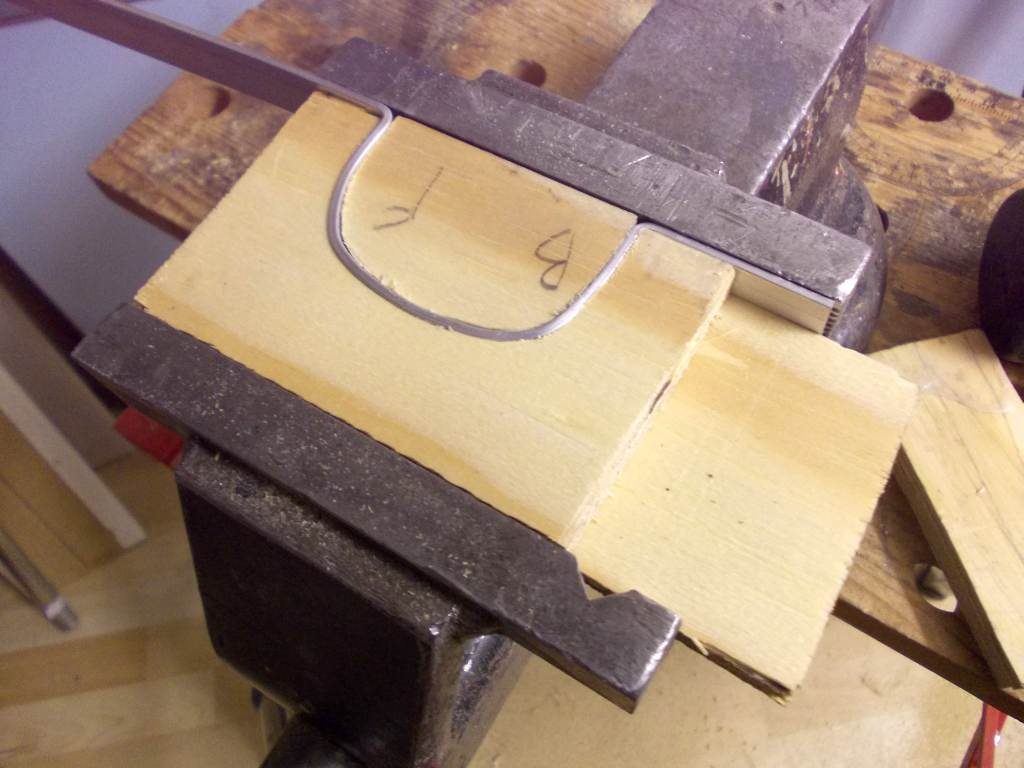
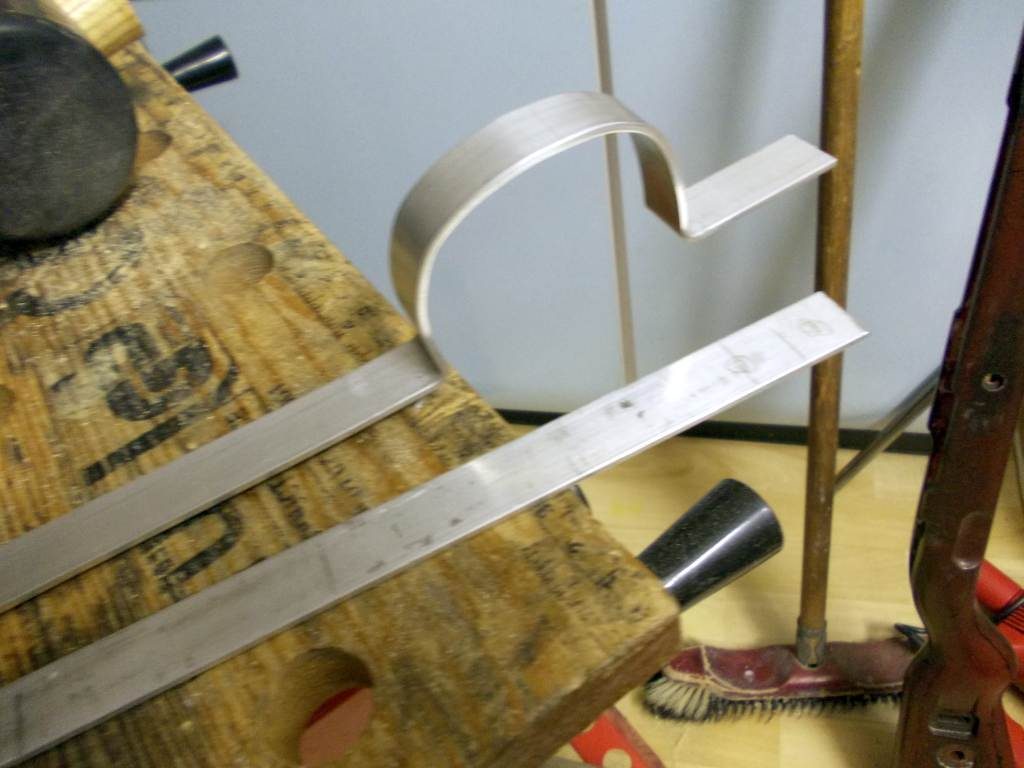
The trigger guard was shaped from a strip of aluminum. I made a shaping tool from scrap plywood:
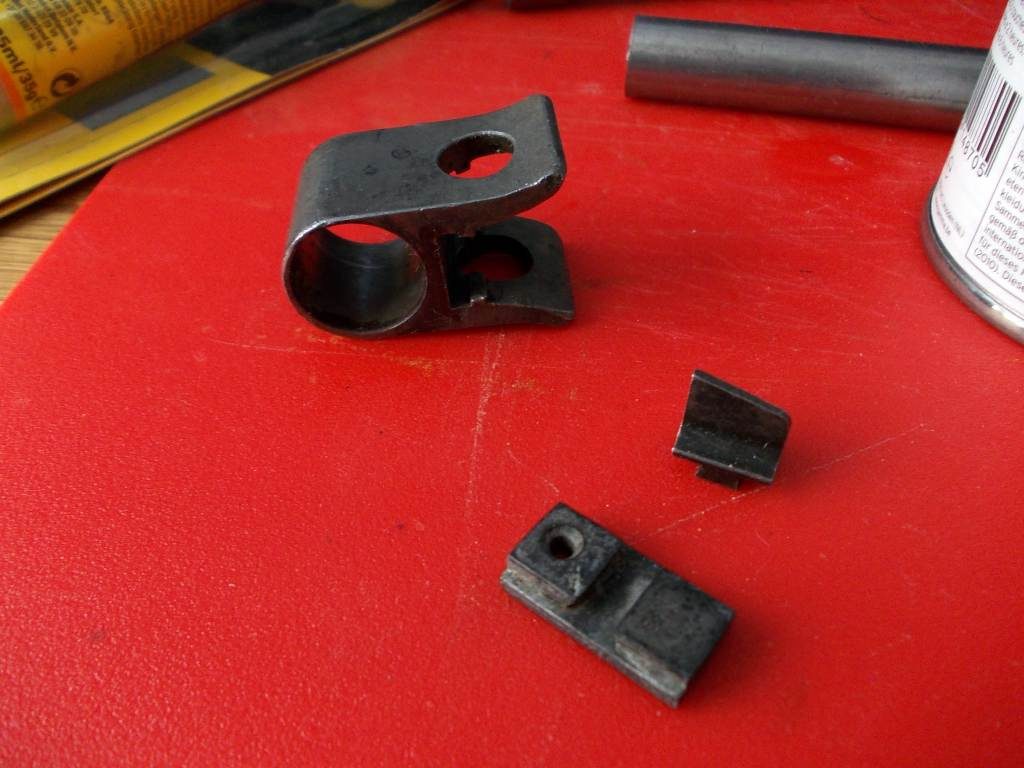
The front sight was built from parts, some made from scratch:
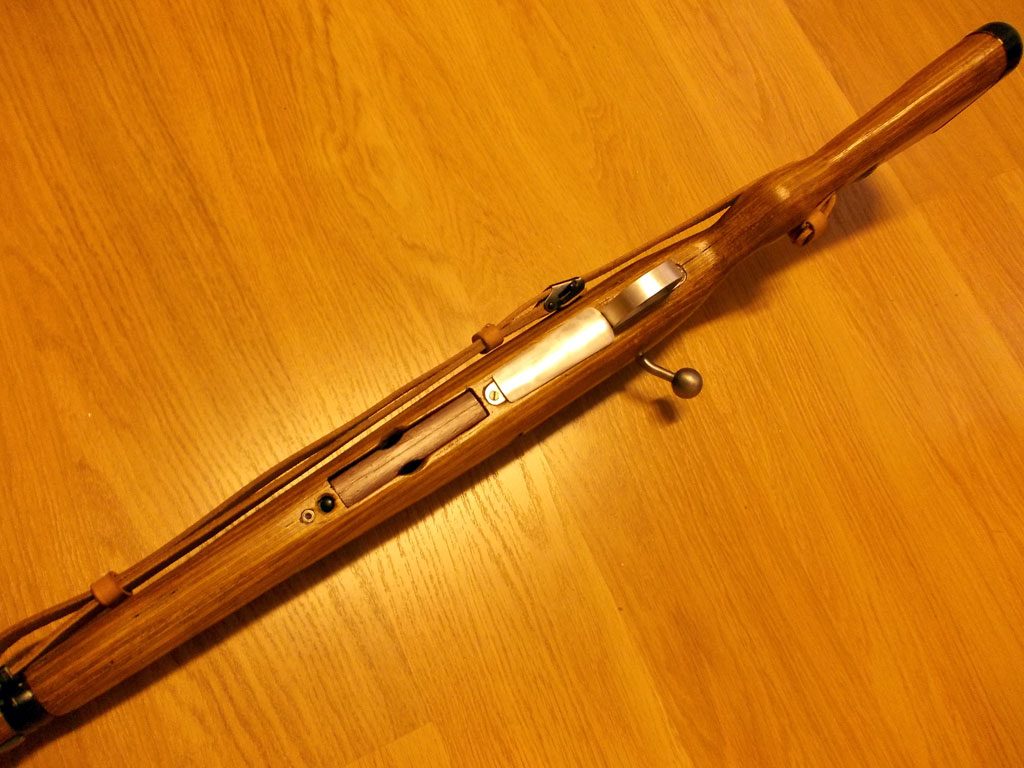
Done for now:
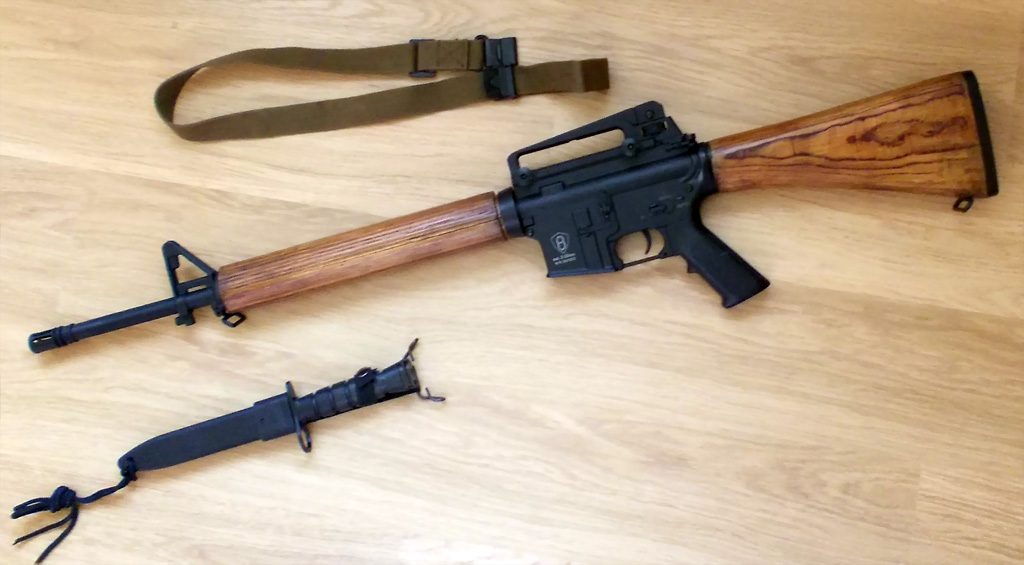
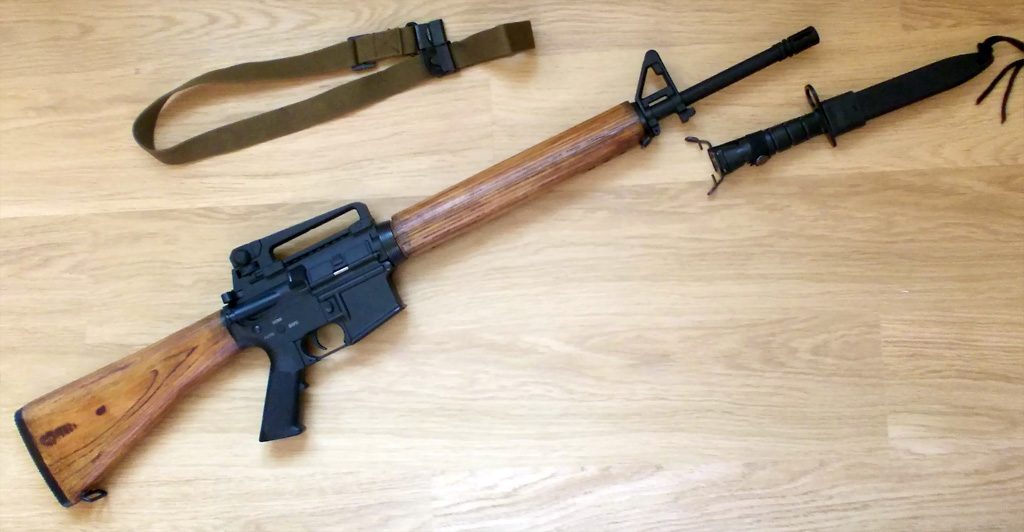
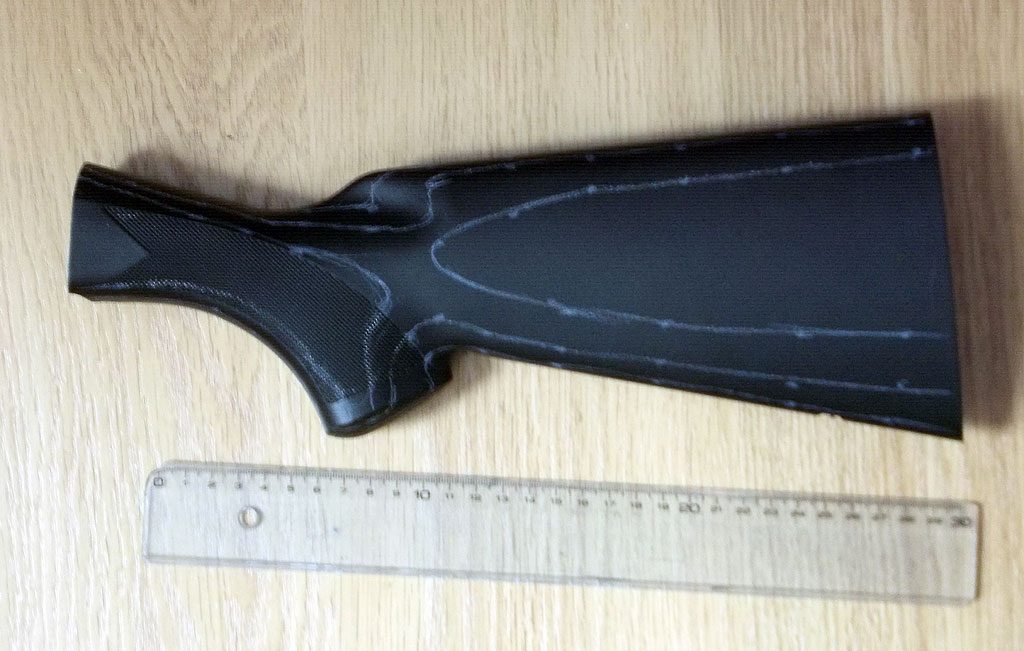
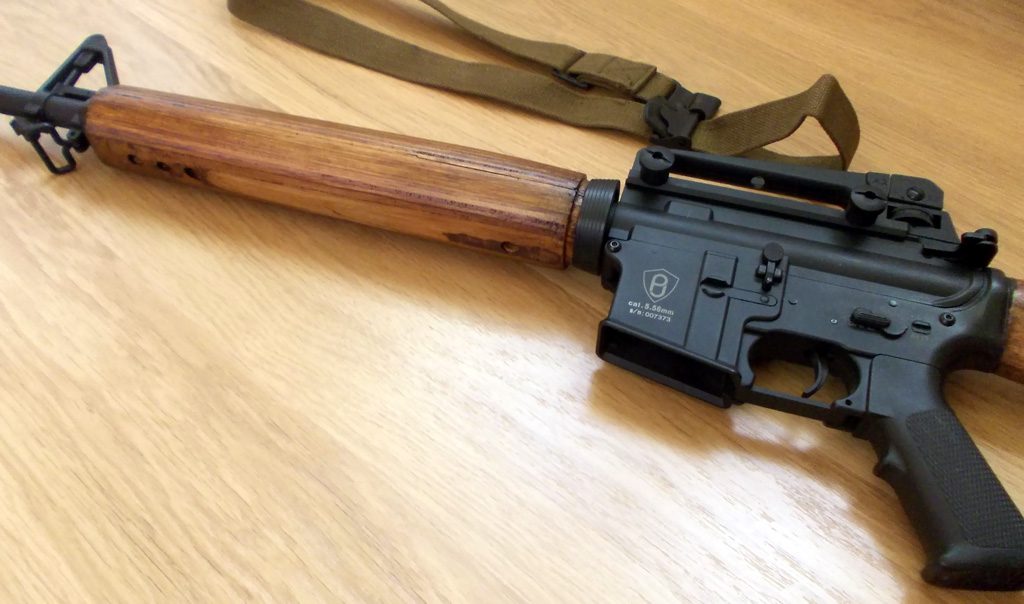
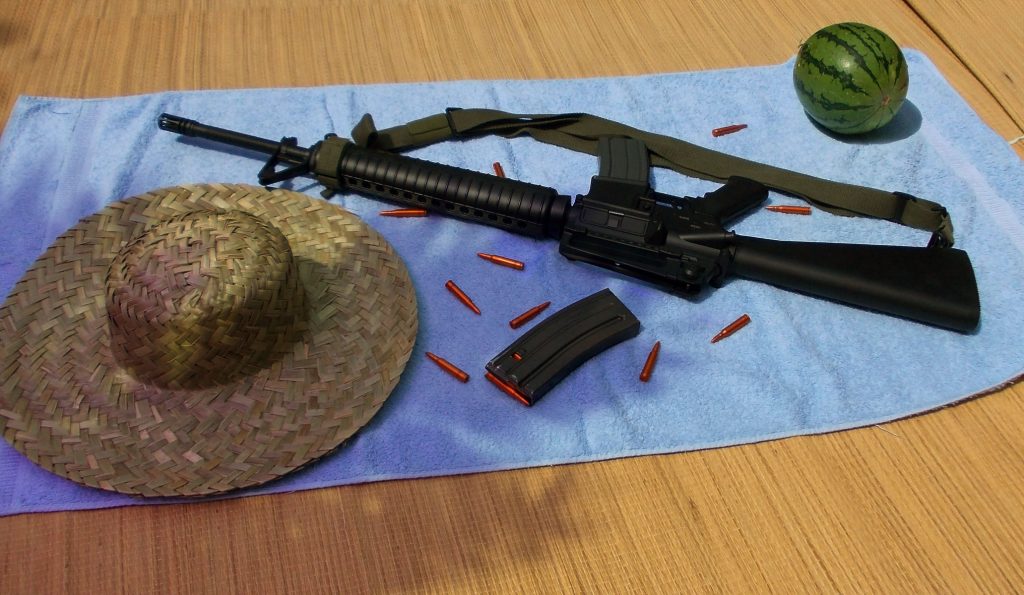
I still had this M16A2 lying around from the Ulgian beach trip, but all things considered I really don’t care for that tacticool black plastic look:
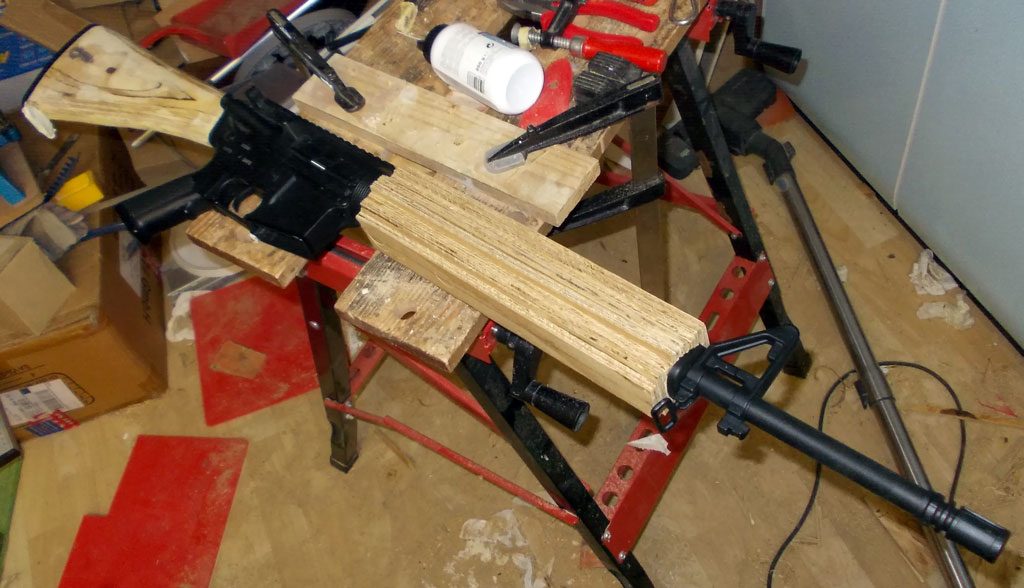
I based the stock completely on the existing plastic one. Care and planning was needed for the battery compartment in the shoulder stock. Unfortunately I didn’t take pictures. The secret for a good fit between the wood and metal parts is to start with the interfaces, and shape the rest of the wood from there.

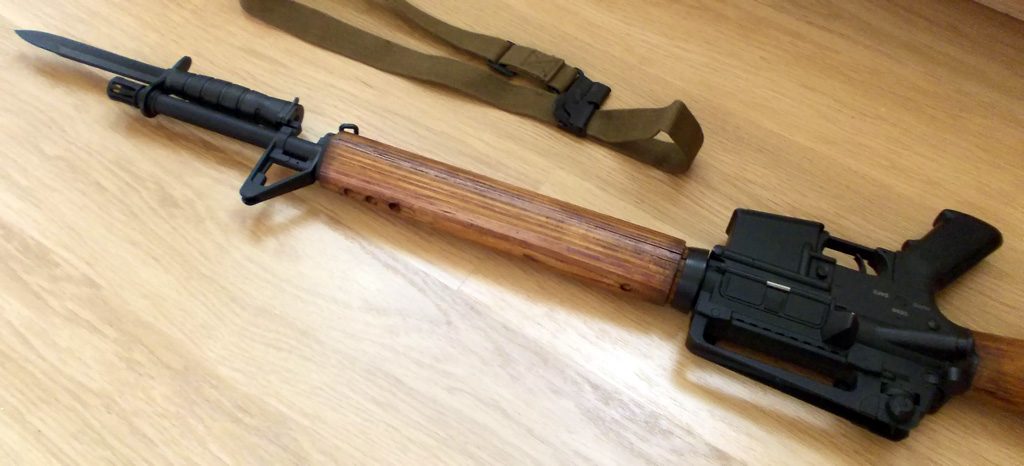
For the handguard I wanted something rounded at the back and more triangular in front. 4 dowels connect the 2 halves of the front grip for added stability. Here I only need to shape the externals of the foregrip, having first done the parts where it fits to the metal. The stock has a clear varnish coat that has been partly removed by straightening some lines:
Finished:

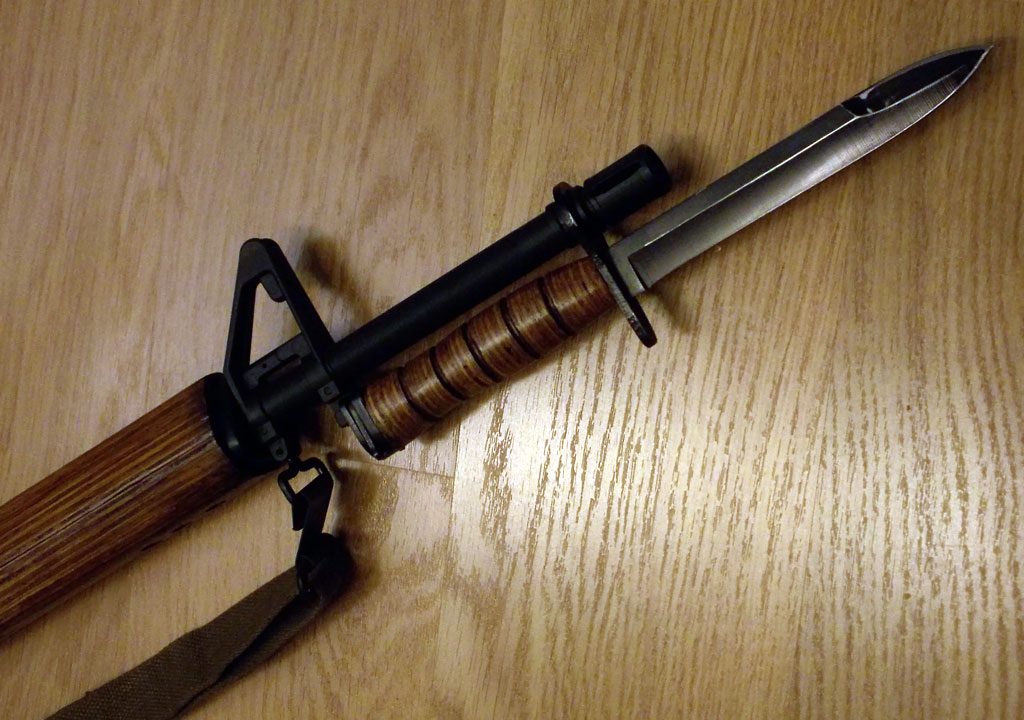
Since the black plastic grip of my M7 bayonet didn’t fit the look anymore, I tried making something like the leather grip of the M4 bayonet, but rather than stacking leather, I used leftover scraps of pine plywood. The inspiration to use the plywood in this way came from a video on traditional Finnish birch bark handled knives.